Getting your air filter installed right might sound boring, but get this—put it in backwards, and you’re blocking airflow, wasting money, and possibly risking your HVAC’s health. No joke, people mix up the direction all the time. Before you even pull out the old one, jot down the size printed on the filter’s frame. You don’t want to shove a filter in that’s an inch too big or too small—it won’t fit right or seal well, which means less clean air and more mess in your vents.
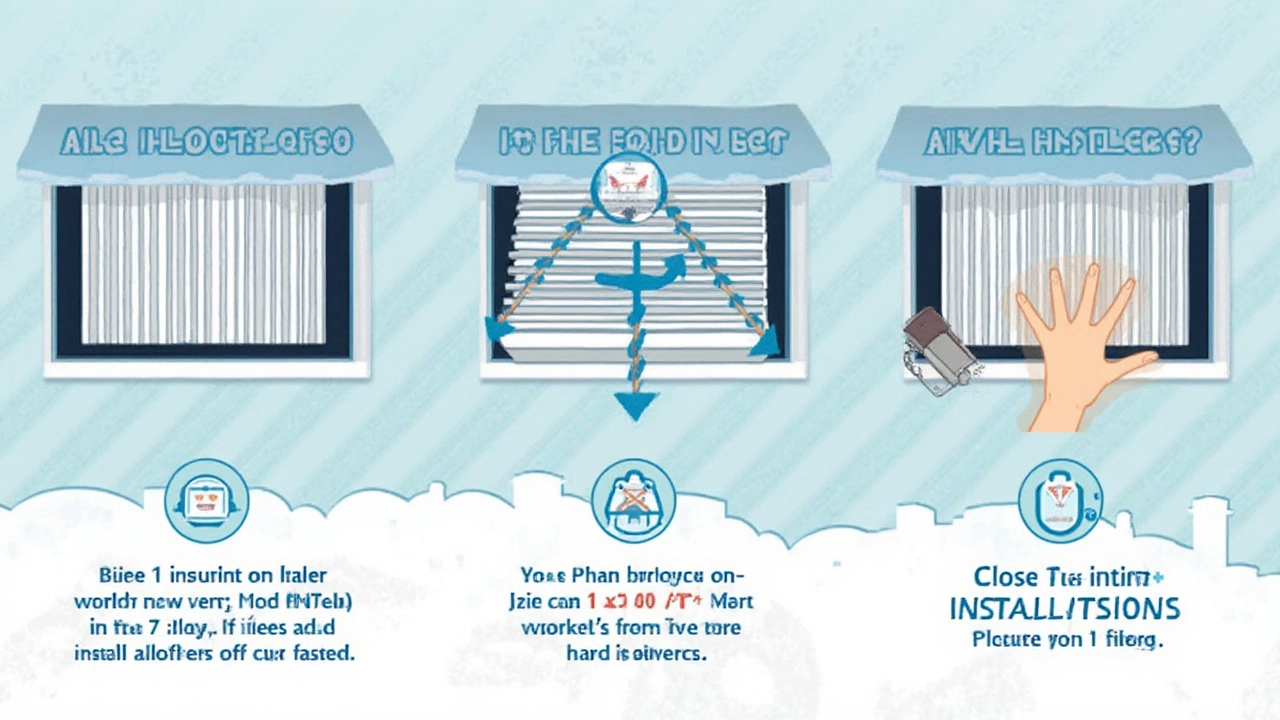
Look—grab your new filter and peek at the arrows on the side. These arrows show which way the air needs to flow. Always aim them toward your furnace or air handler. If you get this part backwards, air has to fight its way through the dense side of the filter, and that just strains everything. Now, turn off your HVAC system for a sec. You don’t want dust blowing in your face when you swap filters.
- Know Your Filter Size and Type
- Check the Filter Direction
- Step-by-Step Replacement Guide
- Why a Clean Filter Matters
- Common Installation Mistakes
- Handy Maintenance Tips
Know Your Filter Size and Type
Before you even think about buying a new filter, figure out your current one’s size. Check the frame—it’s usually stamped with three numbers, like 16x25x1. That’s length, width, and thickness in inches. If you don’t see any markings, grab a tape measure and measure it yourself. Don’t eyeball it; an inch off can create big problems with fit and air flow.
Air filter installation doesn’t stop at the size. You’ve also got to choose the right type for your needs. Here’s the lowdown:
- Fiberglass filters are cheap but only grab big dust and debris. Not great for allergy sufferers.
- Pleated filters trap smaller particles like pollen and pet dander. They’re a sweet spot for most homes.
- HEPA filters catch even the smallest stuff—think smoke or bacteria. But not all HVAC systems can handle them. Double-check your manual before buying one.
The MERV rating (Minimum Efficiency Reporting Value) tells you how tight, or effective, the filter is. Ratings go from 1 (pretty open) to 16 or higher (super tight). Most homes are good with a MERV 8–13, balancing clean air and breathable airflow. If you go above 13, some systems will actually choke from the resistance.
| MERV Rating | Captures | Common Uses |
|---|---|---|
| 1-4 | Larger dust, lint | Basic residential |
| 5-8 | Mold, dust mites | Most homes |
| 9-13 | Pet dander, smoke | Allergy-prone homes |
| 14+ | Bacteria, viruses | Hospitals, special cases |
As the EPA straight up says:
"Using the correct size and type of filter for your system is the best way to keep your home's air clean and your HVAC working efficiently."Don’t guess—double check that manual or ask a pro if you’re stumped. Bottom line: the right air filters don’t just catch dust—they help your entire setup run smoother and last longer.
Check the Filter Direction
Here's the part a ton of people get wrong when it comes to air filter installation: the direction matters. Every filter has an arrow stamped right on the edge, showing you which way the air should move. Always point that arrow toward your furnace or air handler. If you're working with a return vent (the one pulling air in), the arrow should point into the vent, not toward the living room or hallway.
Messed up filter direction means your HVAC maintenance goes out the window. The filter is designed so air flows through a less dense side first, then hits the denser side where most of the dust and dirt get trapped. If it's backwards, airflow drops, your system works harder, and you might start blowing dirty air through your house.
For reference, here's a quick breakdown on what can happen if you get it wrong:
| Wrong Direction | What Happens |
|---|---|
| Arrow faces away from unit | Restricts airflow, lowers efficiency |
| No arrow or can't find it | Check which side looks more rigid — that's usually the side that faces toward the unit |
Some filters even say “Airflow” by the arrow, but if you ripped off the packaging already and can't spot a mark, look for a wire mesh or sturdier frame. That side always goes toward where you want the air to end up—in this case, your system. Making sure it's installed the right way keeps your home air quality up, your system happy, and your bills lower.
Step-by-Step Replacement Guide
Ready for a filter swap? It's no rocket science, but you want to get it right so your air filters actually do their job. Follow these steps and you won't mess it up:
- Turn off your HVAC. Seriously, don’t skip this—some folks don’t, and all that dust will blow into your house while you’re handling the filter. Look for the off switch on your thermostat or the actual unit.
- Locate the old filter. Usually, it’s in the return air duct or right inside your furnace’s blower compartment. Take a picture before pulling it out if you’re a forgetful type.
- Note the arrow direction. The arrow on the filter frame should tell you which way the air moves. Arrows always point toward the furnace or air handler. You might want to mark this on the housing with a sticky note as a cheat for next time.
- Slide out the old filter. Pay attention: if you see lots of dust, pet hair, or you can barely see the filter fabric, you waited too long. Toss it immediately—old filters are loaded with junk you don’t want to breathe.
- Compare sizes. Before you jam in a replacement, set the new and old air filter side by side. The sizing numbers must match—being off even by half an inch can screw up the fit.
- Insert the new filter in the right direction. Double-check those arrows. Pop the new filter into the slot, making sure it fits snug with no gaps. Gaps = dirty air bypassing your filter altogether.
- Turn the system back on. Now you can crank the thermostat back up. Give it a minute and listen for weird noises—rattling or whistling could mean something’s not seated right.
For most homes, swapping air filters takes less than five minutes. If you’re a numbers nerd, check out the table below to see how often you really need to change filters based on your living situation:
| Household Situation | Change Frequency |
|---|---|
| No pets, no allergies | Every 90 days |
| One pet or mild allergies | Every 60 days |
| Multiple pets or strong allergies | Every 30-45 days |
Sticking to these steps means your air filter installation will go smooth and you'll actually keep your air clean. Forgetting to change or install it right is just asking for a clogged system and bigger repair bills down the road.
Why a Clean Filter Matters
If you’re wondering why you should care about a clean air filter, the impact is bigger than you might think. When your filter traps dirt, dust, pet hair, and pollen, it stops all that junk from blowing back into your home. Stick a dirty filter in there or let it get clogged, and suddenly, your air isn’t so fresh. People with allergies or asthma definitely notice the difference.
Now, here’s the wallet kicker: a clogged filter means your HVAC system has to kick into high gear just to push air through. That extra effort racks up your energy bill and strains the equipment. Some HVAC techs say a filthy filter is the number one reason for service calls in summer and winter. Want fewer repairs and a cooler house? Keep that air filter installation fresh.
- Better air quality: Blocks stuff like dust, pet dander, and mold spores so you’re not breathing junk.
- Energy savings: When the filter isn’t full of debris, your HVAC works efficiently. The U.S. Department of Energy says clean filters can lower your system’s energy use by up to 15%.
- Longer equipment life: Dirty filters overwork your blower motor and can even freeze up the coil, which means pricy fixes down the line.
| Benefit | What You Get |
|---|---|
| Saves Money | Lower energy bills and fewer breakdowns |
| Healthier Air | Less dust and allergens floating around |
| Smoother Operation | More comfortable and consistent airflow |
So next time you walk past the vent and think no big deal, remember: a simple air filter installation keeps your system running smooth, saves cash, and actually helps you breathe easier. Don’t slack on this one!
Common Installation Mistakes
Installing an air filter seems easy, but plenty of people mess up the basics. If you want clean air and a happy HVAC, avoid these common slip-ups.
- Putting the Filter in Backwards: Probably the #1 mistake. Filters have an arrow showing which way the air should flow—this arrow always points toward your furnace or air handler. Get this wrong, and your air filter installation fights the system, letting dust pass into your equipment.
- Using the Wrong Filter Size: Even a half-inch gap around your filter lets dirty air sneak by. Always match your filter’s dimensions (found on the old filter’s frame or your owner’s manual). Shoving a filter that's too big can bend it, and too small means wasted time and money.
- Leaving Gaps or Letting the Filter Bow: If the filter isn’t sitting snug in its slot, air will choose the path of least resistance—right past the filter—skipping cleaning and clogging your system up with junk.
- Forgetting to Replace the Filter Cover: Some setups come with a plastic or metal cover over the filter slot. Leaving it off drops your system’s efficiency and lets dust sneak around the filter.
- Pushing in a Dirty Filter: If you grab a filter from last season thinking it’s “still good,” big mistake. A used filter blocks airflow and lowers your home’s air quality.
One survey by the National Air Filtration Association found that nearly 40% of HVAC service calls are caused by issues with filters—like clogs or improper installation. Skipping regular changes or rushing the job racks up repair bills fast.
Another thing a lot of folks miss? Setting reminders for filter changes. Out of sight, out of mind means your HVAC maintenance falls behind, comfort drops, energy bills go up, and your system works overtime.
Finally, don’t install the highest-rated HEPA filter you can find unless your system is built for it. Super-thick filters can choke older HVAC units. Always check your manufacturer’s specs for filter types, so you don’t sacrifice airflow for a few more points of filtration.
| Common Mistake | Result |
|---|---|
| Wrong direction | Reduces airflow, lets dust into system |
| Wrong size | Air leaks, inefficient filtration |
| Dirty filter reused | Lowers air quality, strains HVAC |
| Missing cover | Dust bypasses filter |
| Overrated filter | Can stress or damage some systems |
Handy Maintenance Tips
If you want to get your money’s worth out of your air filters and keep the air in your house actually clean, regular maintenance is the trick. Swapping your air filter isn’t just a spring-cleaning thing—it really helps your HVAC system perform like it should all year round. And no, putting it off for months will not save you time or cash. In fact, according to most HVAC techs, a dirty filter can hike your energy bill by 5-15% because your system has to work way harder to push air through.
- Check your air filter every 30 days if you've got pets, allergies, or live in a dusty area. Otherwise, give it a glance every 60 to 90 days.
- Set a recurring reminder on your phone so you don't forget this quick chore. Forgetfulness is enemy number one for indoor air quality.
- Write the date you install the new filter right on its edge with a permanent marker. Now you’ll never be stuck guessing how long it’s been in there.
- If you use thicker filters (like the 4-inch or 5-inch ones), you might get away with changing them less often—check the manufacturer’s suggestions to be sure.
- Before each change, vacuum around the vent or filter slot to prevent extra dust from slipping into your system.
Can’t remember when you last changed the filter? Just hold it up to the light. If hardly any light passes through, or it’s gray and full of dust, swap it out.
Check out the quick-reference table below if you want a ballpark idea of how often different homes typically need a new air filter:
| Home Type/Condition | Recommended Change Interval |
|---|---|
| No pets, low traffic | Every 90 days |
| One pet or light allergies | Every 60 days |
| Multiple pets or heavy foot traffic | Every 20–45 days |
| Vacation home/Only part-time occupied | Every 6–12 months |
Keeping up with air filter installation and regular swaps means fewer breakdowns, better air, and less money wasted on energy bills.