Brake Rotor Inspection Calculator
Rotor Condition Assessment
Enter your rotor measurements and check observed conditions to determine if rotors can be kept or need replacement.
Results
Cost Estimate
If you're replacing pads only, expect to pay £80-£150 per axle. Full replacement (pads + rotors) typically costs £250-£400 per axle.
When it comes to a brake pad is a friction component that presses against the brake rotor to slow or stop a vehicle, the first question most DIYers ask is whether they can swap the pads and leave the rotors untouched. The short answer is: sometimes, but not always. Understanding when the rotors are still good, what signs scream “replace me”, and how the decision impacts safety and cost will save you time, money, and headaches.
Quick Takeaways
- Only replace pads alone if the rotors meet thickness specifications, are smooth, and show no cracks or hot‑spot damage.
- Inspect rotors for scoring, wobble, or thickness below the manufacturer’s minimum before deciding.
- Typical brake‑pad‑only jobs cost 40‑60% of a full pad‑and‑rotor replacement.
- If you hear squeal or feel pulsation, that usually means the rotors need attention.
- Professional inspection is advised if you’re unsure-brake system safety is not worth the gamble.
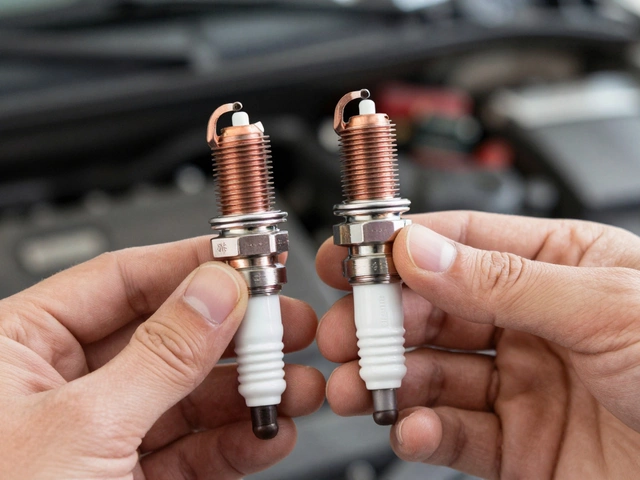
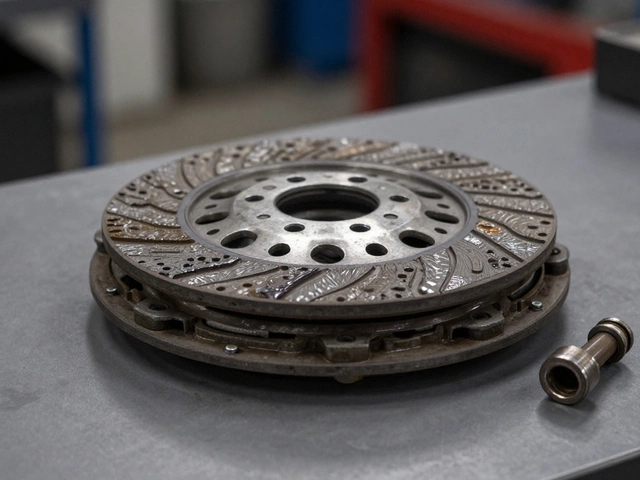
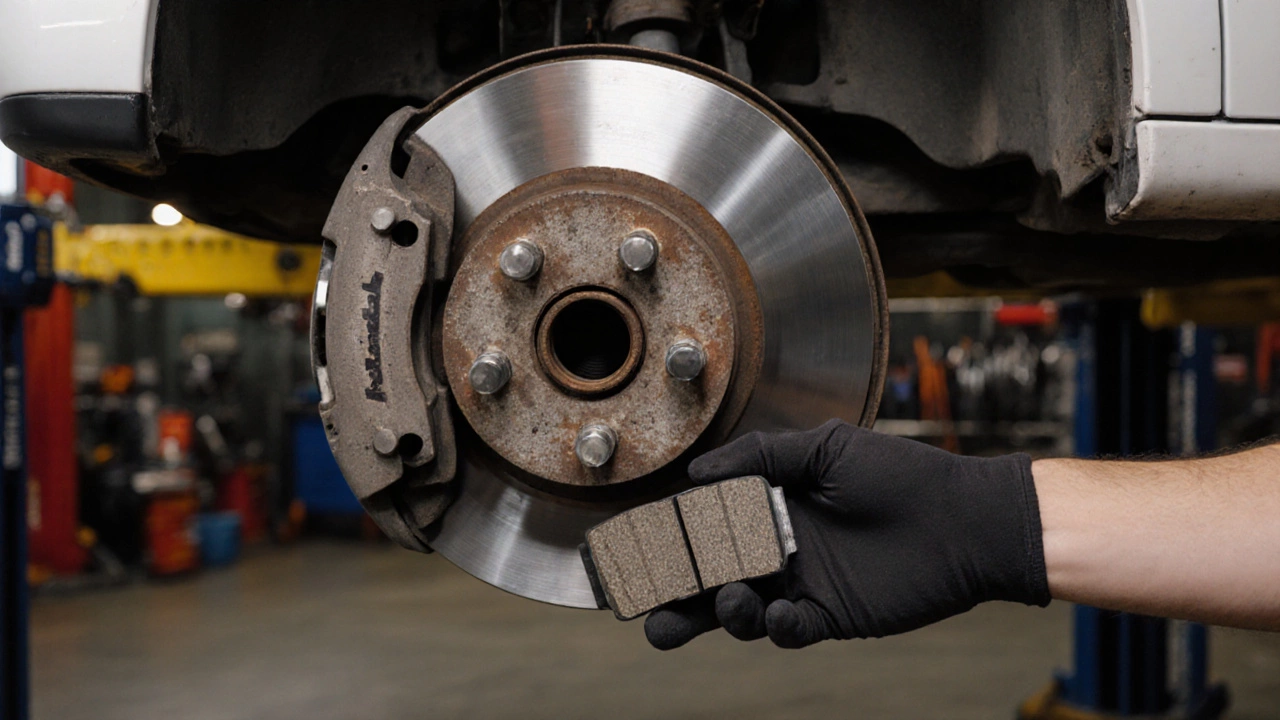
What Exactly Are Brake Pads and Rotors?
A modern disc‑brake system consists of several moving parts that work together:
- Brake pads - replaceable friction blocks that clamp onto the rotor.
- Brake rotors - the rotating metal discs that the pads grip.
- Brake caliper - houses the pistons that push the pads.
- Brake fluid - transfers pedal force to the caliper.
The pads do the heavy lifting for stopping power, while the rotors provide a sturdy, heat‑resistant surface. Over time, both wear out, but they do so at different rates and for different reasons.
When Is It Safe to Replace Only the Pads?
Here are the key situations where a pad‑only swap makes sense:
- Rotor thickness is within spec. Most manufacturers stamp a minimum thickness on the rotor hub. If a micrometer measurement is above that number, the rotor is still structurally sound.
- Surface is smooth. Look for rust, deep grooves, or uneven wear. Light surface rust that can be brushed away is acceptable, but scoring that can’t be sanded flat signals a rotor issue.
- No cracks or warping. Even a hairline crack can grow under braking heat, leading to rotor failure.
- Brake noise is limited to pad wear. A squeal that disappears after new pads are installed usually points to pad wear rather than rotor problems.
- Previous rotor resurfacing was recent. If a shop recently turned the rotors down to a smooth finish, you can usually get a few more thousand miles out of them.
If all these boxes are checked, you can confidently replace just the pads and keep the rotors for the next service interval.
Red Flags: Signs Your Rotors Need Attention
Even if the pads look fine, the rotors can betray hidden damage. Watch out for:
- Blue‑ing or discoloration. Excessive heat turns the metal a bluish tint, indicating the rotor has been pushed beyond its thermal limits.
- Vibration or pulsation. If you feel a shudder through the brake pedal at high speeds, the rotor is likely warped.
- Grooves deeper than 1 mm. Deep scoring reduces the contact area and can lead to uneven pad wear.
- Rust that won’t clean off. Heavy rust can cause the pad to catch and create uneven braking forces.
- Brake dust that’s metallic. While some dust is normal, a metallic sheen suggests the rotor surface is being damaged by the pads.
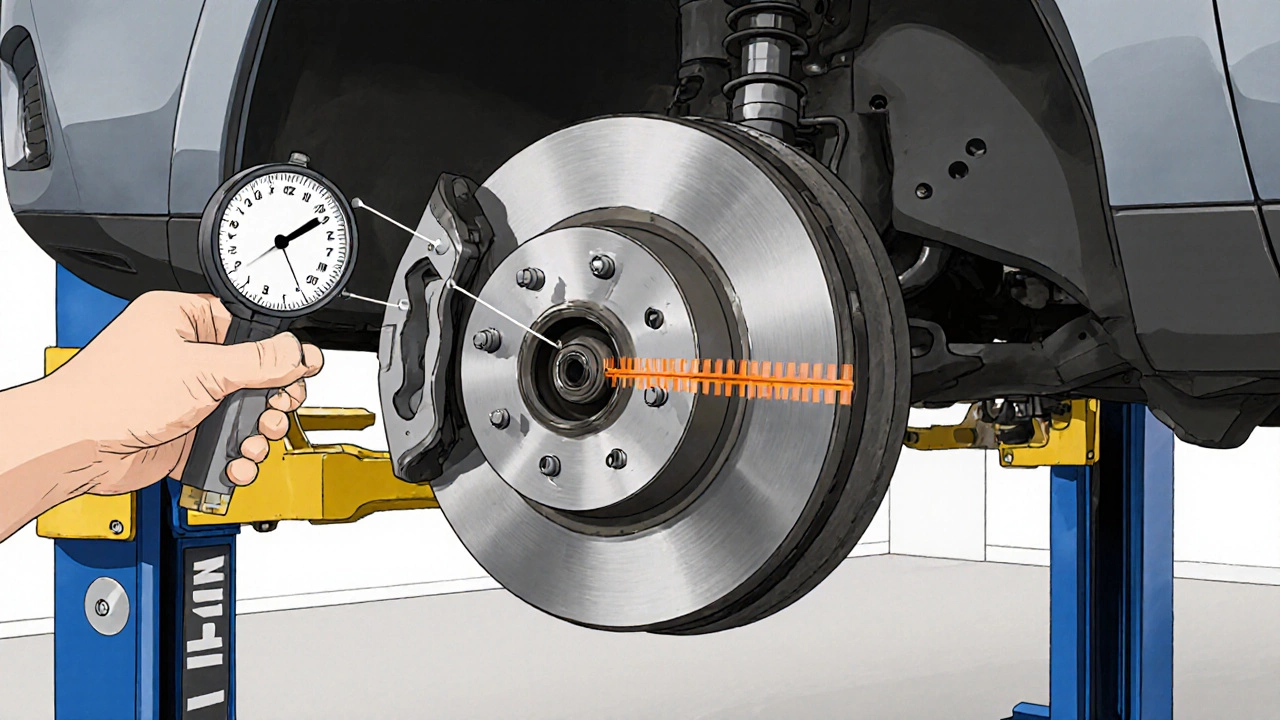
Step‑by‑Step Rotor Inspection
- Jack up the wheel and remove the lug nuts.
- Take off the wheel and locate the rotor.
- Clean the surface with a brake‑cleaner spray and a wire brush.
- Use a micrometer or a rotor‑thickness gauge to measure at three points (12, 3, and 9 o’clock). Record the thinnest value.
- Compare the reading to the manufacturer’s minimum thickness (usually stamped on the rotor hub).
- Run a straight‑edge across the rotor surface. Any gap >0.05 mm indicates warping.
- Inspect for cracks, especially around the hub and on the edge.
- Re‑install the wheel, lower the car, and torque the lug nuts to spec using a torque wrench.
If any measurement falls below spec or you spot warping, replace the rotor now rather than later.
Cost Comparison: Pads‑Only vs. Pads + Rotors
| Aspect | Replace Pads Only | Replace Pads + Rotors |
|---|---|---|
| Typical Labor | 0.5-1 hour | 1.5-2.5 hours |
| Parts Cost (per axle) | £80‑£150 | £250‑£400 |
| Overall Expense | ≈ £120‑£180 | ≈ £350‑£500 |
| Durability | 5‑15k miles (depends on driving style) | 30‑70k miles (new rotors) |
| Safety Rating | Good if rotors meet specs | Excellent - fresh friction and heat‑dissipation surfaces |
| Recommended Interval | When pads wear ~3 mm | Every 2-3 brake services or when rotors hit min thickness |
Notice the steep jump in parts cost, but also the big gain in rotor lifespan. If you’re on a tight budget and the rotors pass inspection, the pads‑only route is a sensible short‑term fix.

DIY or Professional? Making the Right Call
DIY brake work is rewarding, but it carries responsibility. Here are factors that tip the scale toward a garage:
- Tool availability. A reliable torque wrench (usually 80-120 Nm for most UK cars) and a micrometer are non‑negotiable for safety.
- Experience level. If you’ve never serviced a disc‑brake system, the learning curve can be steep.
- Vehicle type. Performance cars often have higher‑performance rotors that require special procedures.
- Time pressure. A professional shop can complete a pad‑only job in under an hour, while a first‑timer might take 2-3 hours.
When in doubt, at least have a qualified mechanic inspect the rotors before you commit to a pads‑only swap.
Extending Rotor Life: Maintenance Tips
Even with perfect driving habits, rotors will eventually wear. Follow these simple steps to get the most mileage out of them:
- Brake gently for the first 1‑2 km after any pad change - this lets the pads bed in and prevents hot‑spot formation.
- Avoid riding the brake on long downhill stretches; use engine braking instead.
- Keep the brake fluid fresh (replace every 2 years) to maintain proper hydraulic pressure.
- Inspect the brake dust regularly. Excessive metallic dust often means the rotor surface is being damaged.
- Consider a light resurfacing when pads are replaced if the rotor surface is still within thickness limits - it can shave off a few microns of unevenness and restore smooth contact.
These habits keep the rotors cooler, reduce warping risk, and stretch the interval between full rotor replacements.
Frequently Asked Questions
Can I reuse the same rotors for several pad changes?
Yes, as long as the rotor thickness stays above the manufacturer’s minimum, the surface remains smooth, and there are no cracks or warping. Regular inspections will tell you when it’s time for a new rotor.
What’s the difference between ceramic and semi‑metallic brake pads?
Ceramic pads are quieter, produce less dust, and are gentler on rotors, but they cost more and may not perform as well under extreme heat. Semi‑metallic pads are cheaper, handle heat better, and are common on performance cars, though they tend to wear rotors faster.
How often should I check my rotor thickness?
A good rule of thumb is to measure the rotors at every brake‑pad change, typically every 10‑15 k miles, or sooner if you notice any vibration or squealing.
Is rotor resurfacing worth it?
Resurfacing can be a cost‑effective way to extend rotor life if the thickness is still above minimum and the wear pattern is even. However, many modern rotors are thin‑cut and not designed for machining, so replacement may be the safer option.
What torque should I use on the wheel lug nuts after brake work?
For most passenger cars in the UK, torque specs range between 80 Nm and 120 Nm. Check your vehicle’s service manual for the exact figure and use a calibrated torque wrench.
By answering these common queries, you should feel confident deciding whether a pad‑only swap will keep your car safe and economical.