DIY Radiator Replacement Estimator
Do you have these tools?
Fill in the details on the left to see your estimated costs and time.
Estimated Time
--
Potential Savings
£0
| Part Cost: | £0 |
| Consumables: | £0 |
| Tool Costs (if needed): | £0 |
| Total DIY Cost: | £0 |
| Mechanic Quote (Avg): | £0 |
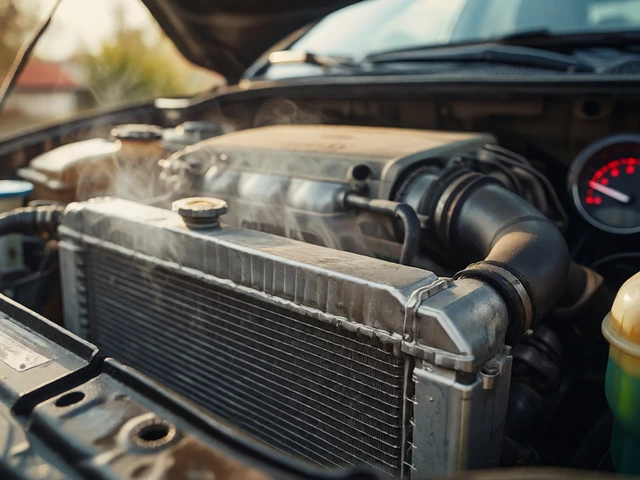
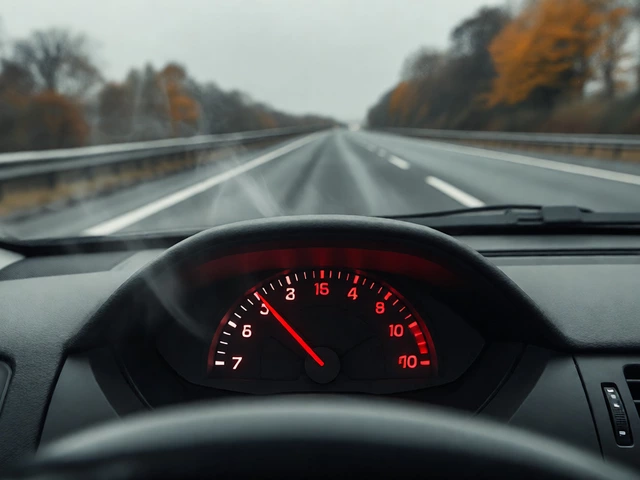
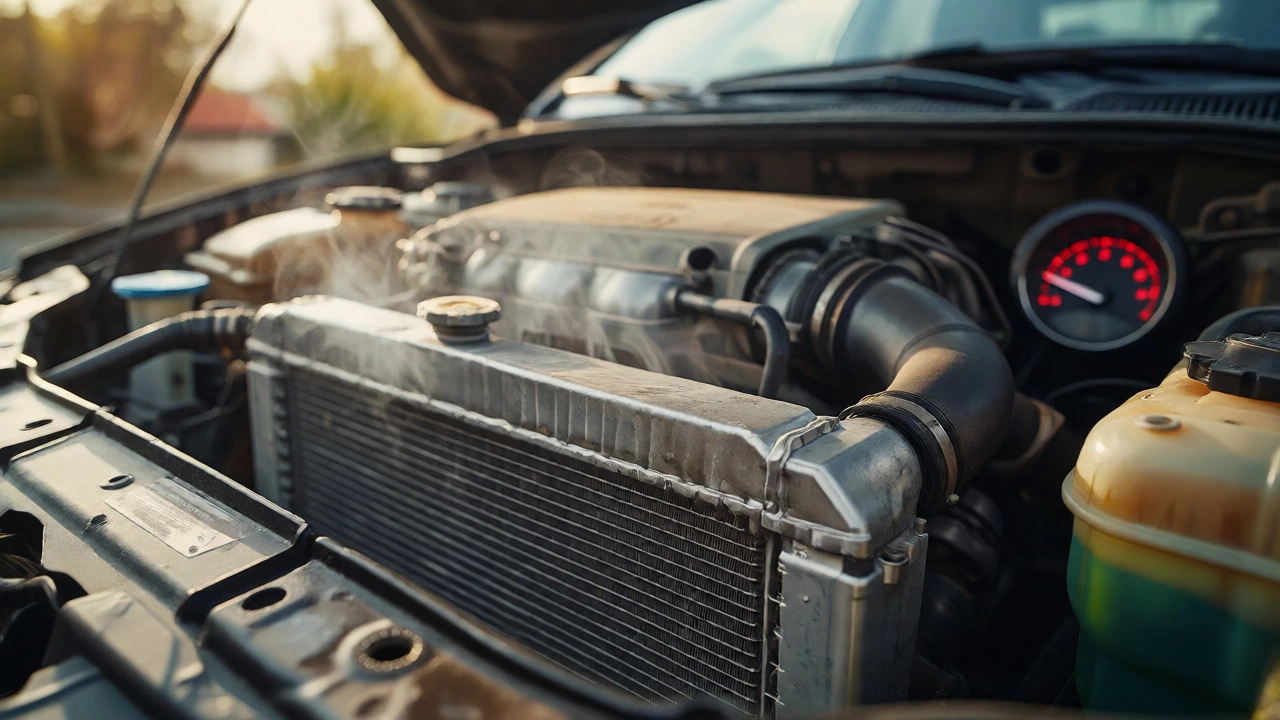
Picture this: your temperature gauge is creeping into the red zone, steam is hissing from under the bonnet, and you’re stranded on the side of a Manchester dual carriageway. The culprit? Often, it’s a failed radiator. Now, here’s the million-dollar question: can you actually swap one out yourself, or do you need to call in a professional mechanic?
The short answer is yes, you absolutely can. But before you grab your spanner set, let’s be real about what this job entails. Replacing a radiator isn’t rocket science, but it’s not exactly changing a wiper blade either. It requires patience, the right tools, and a clear understanding of your car’s cooling system. If you’re handy with basic mechanical tasks and have a driveway or garage to work in, you can save hundreds of pounds on labour costs. Here is everything you need to know to decide if this project is for you.
Is Your Radiator Actually Broken?
Before you buy parts, confirm the diagnosis. Not every overheating issue stems from a faulty radiator. Sometimes it’s just low coolant levels, a stuck thermostat, or a failing water pump. How do you tell the difference? Look for specific signs. Coolant leaks are the biggest giveaway. Check underneath the car after it’s been parked overnight. Green, orange, or pink puddles near the front of the engine bay usually point to a leak. Inspect the radiator fins themselves; if they look bent, corroded, or clogged with dirt and bugs, airflow is compromised, leading to poor cooling performance.
Another common symptom is inconsistent cabin heating. If your heater blows cold air even when the engine is warm, air might be trapped in the system due to a leak, or the coolant level is too low because the radiator isn’t holding pressure. Also, keep an eye on your temperature gauge. If it fluctuates wildly or stays high while idling but drops when you drive faster, that’s classic radiator trouble. The fan helps cool the radiator at low speeds; if the core is blocked, driving speed provides enough airflow to mask the problem temporarily.
Tools and Parts You’ll Need
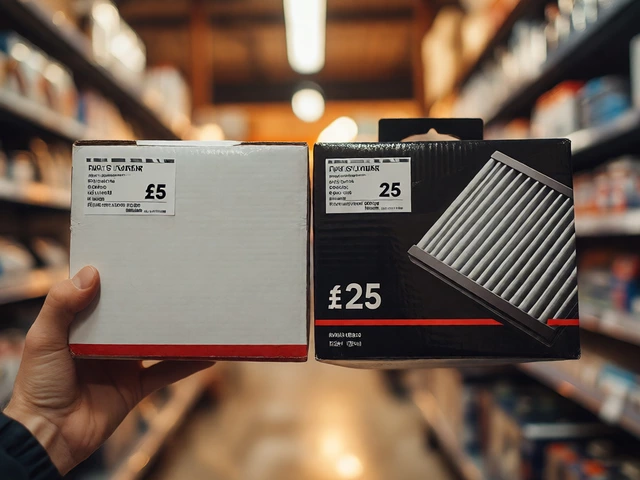
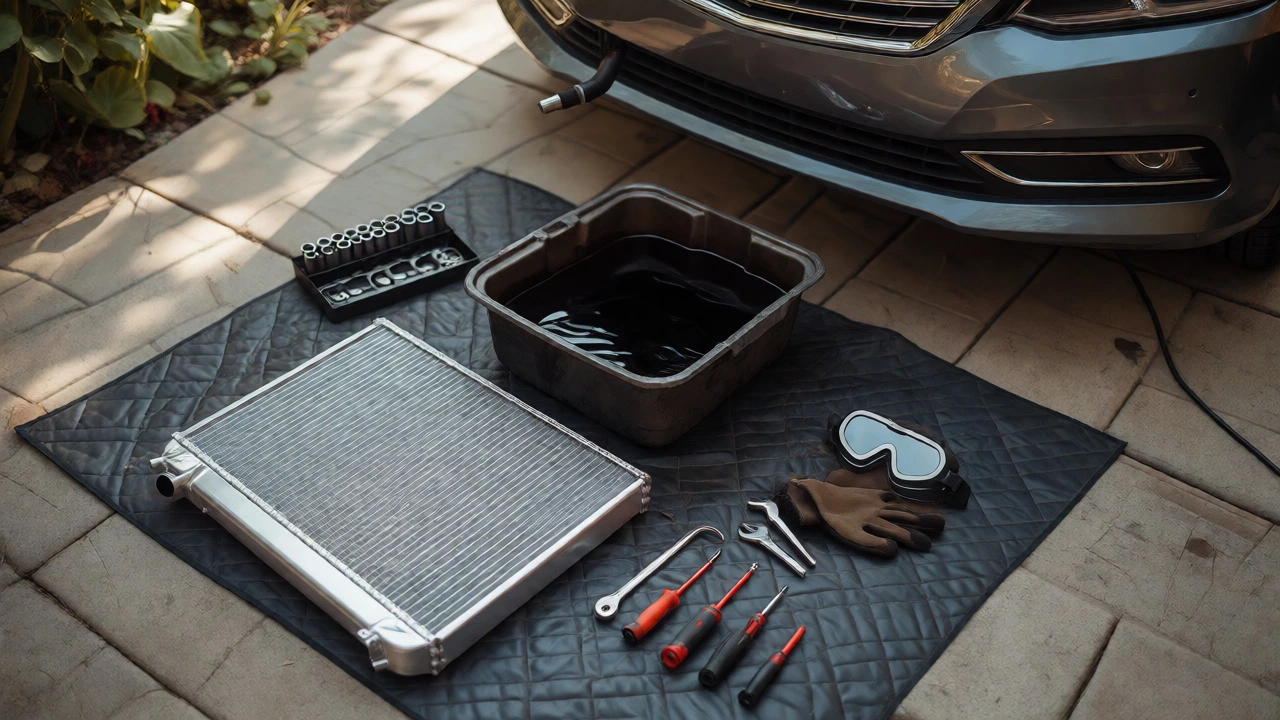
You don’t need a full workshop setup, but you do need more than just a screwdriver. First, identify the correct part. Use your vehicle’s registration number to find the exact fitment. Radiators come in different sizes and connection types depending on the make and model. Buying the wrong one leads to frustration and extra trips to the auto shop.
| Tool/Item | Why You Need It | Estimated Cost (UK) |
|---|---|---|
| Socket Set & Spanners | To remove bolts securing the radiator and brackets. | £15-£40 (if not owned) |
| Drain Pan | Catches old coolant so it doesn’t spill everywhere. | £5-£10 |
| New Coolant | Replaces the fluid lost during removal. Never reuse old coolant. | £10-£20 per litre |
| Hose Clamps | Often replaced if old ones are rusted or brittle. | £1-£3 each |
| Gloves & Goggles | Coolant is toxic and can splash. | £5 |
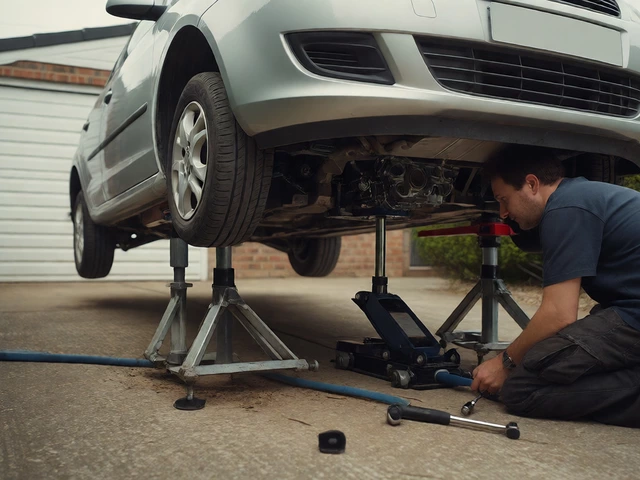
Don’t forget safety gear. Engine coolant contains ethylene glycol, which is sweet-tasting but highly toxic to pets and children. Wear gloves to protect your skin and goggles to shield your eyes from splashes. If you’re working on a lift or using jack stands, ensure the car is stable. Never rely solely on a hydraulic jack.
Step-by-Step Replacement Process
Start by letting the engine cool down completely. This is non-negotiable. Opening a hot cooling system can result in severe burns from pressurised steam and boiling liquid. Once cool, locate the drain plug on the bottom of the radiator or disconnect the lower hose. Place your drain pan underneath and release the coolant. Let it drain fully into a sealed container for proper disposal later.
Next, disconnect the upper and lower radiator hoses. These are usually held on by spring clamps or worm-drive screws. Squeeze or loosen them carefully. Be prepared for some residual coolant to drip out. After the hoses are off, unplug any electrical connectors attached to the radiator fans or sensors. Most modern cars have electric fans mounted directly to the radiator shroud.
Now, tackle the mounting bolts. There are typically two or three bolts securing the radiator to the car’s frame or support brackets. In some vehicles, you might need to remove the top tank or trim pieces to access these. Once loose, gently wiggle the radiator free and pull it out. Watch out for sharp metal fins-they cut easily. Compare the new unit with the old one to ensure the inlet and outlet ports match perfectly.
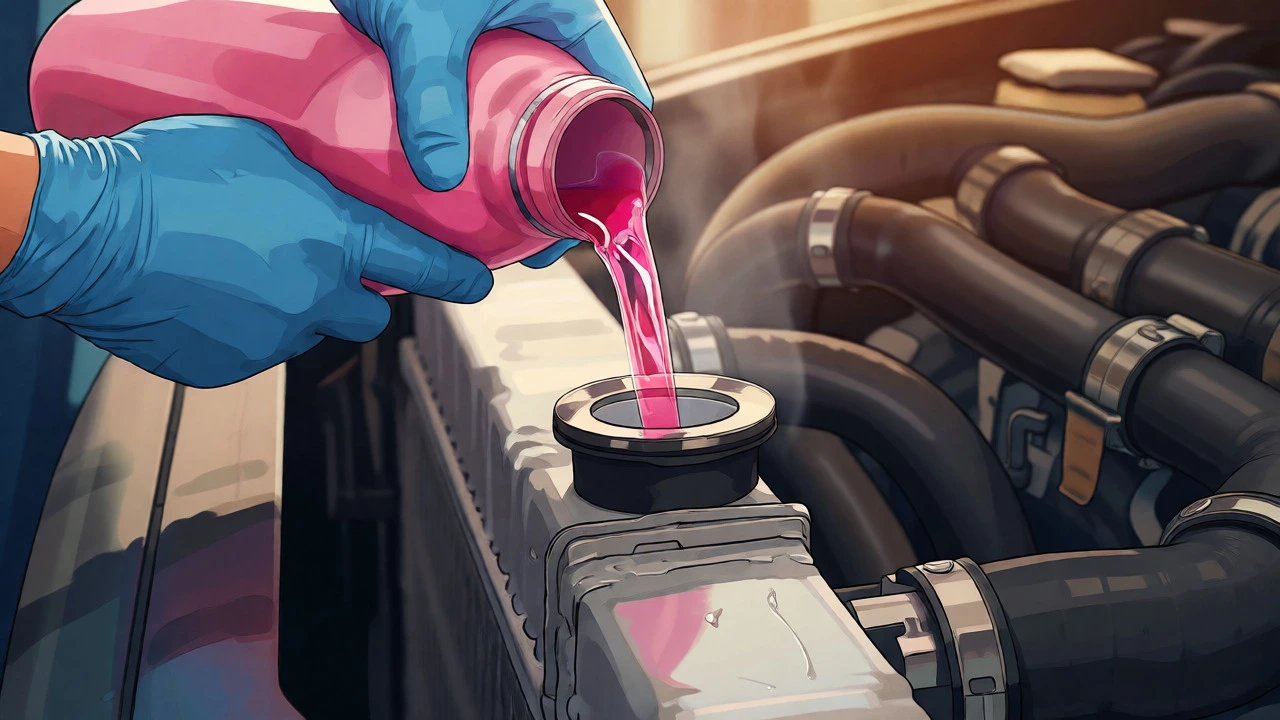
Installation is essentially the reverse process. Slide the new radiator into place, secure the bolts, reconnect hoses, and reattach electrical connections. Refill the system with fresh coolant mixed according to the manufacturer’s specifications (usually 50/50 with distilled water). Do not use tap water unless it’s extremely soft, as minerals can cause corrosion over time.
Bleeding the Cooling System
This is where many DIYers stumble. Simply filling up the reservoir isn’t enough. Air pockets get trapped inside the engine block and heater core, preventing proper circulation. If you skip bleeding, your car will likely overheat shortly after starting.
Most cars require a specific bleeding procedure. Generally, you leave the radiator cap off, start the engine, and let it idle until it reaches operating temperature. As the thermostat opens, coolant circulates, pushing air out through the filler neck. Top up the coolant as the level drops. Some models have bleed screws on the heater hoses or thermostat housing-open these slightly until coolant flows without bubbles, then tighten them back up. Consult your owner’s manual for the exact method for your vehicle.
Once bled, replace the cap securely. Take the car for a short test drive. Monitor the temperature gauge closely. Check for leaks around the hose connections and the new radiator seals. When the engine cools down again, check the expansion tank level and top up if necessary. Air may still settle out, causing the level to drop further.
When to Call a Professional
While DIY saves money, there are limits. If your radiator is integrated with other components like the AC condenser or transmission cooler lines, the job becomes significantly more complex. Disconnecting AC lines requires special tools and expertise to avoid releasing refrigerant gas improperly. Similarly, if you discover a cracked engine block or a blown head gasket during inspection, stop immediately. Those repairs are major undertakings best left to specialists.
Also, consider your local environment. In places like Manchester, road salt and grime accelerate corrosion. If surrounding pipes and brackets are seized or rusted away, removing them might break them, requiring additional parts. If you hit a bolt that won’t budge, applying penetrating oil and waiting is better than snapping it off. Patience pays off here.
How long does it take to replace a radiator?
For most standard cars, expect to spend between 2 to 4 hours. First-time DIYers should budget closer to 4 hours to account for learning curves, locating hidden bolts, and careful bleeding of the system.
Can I drive with a leaking radiator?
Short distances only, and only if you monitor the temperature constantly. Driving with a significant leak risks catastrophic engine damage due to overheating. If you see steam or the gauge hits red, pull over immediately.
Do I need to replace the thermostat too?
It’s often recommended. Since you already have the cooling system open, replacing the thermostat (a relatively cheap part) ensures the entire system functions optimally and prevents future overheating issues.
What happens if I don’t bleed the radiator?
Trapped air creates hot spots and prevents coolant from circulating properly. This leads to erratic temperature readings, poor heater performance, and eventual overheating, potentially warping the cylinder head.
Is distilled water okay for refilling?
Distilled water is ideal for mixing with concentrate. If using pre-mixed coolant, check the label. Tap water contains minerals that deposit scale inside the radiator and engine passages, reducing efficiency over time.