Shock Absorber Bounce Test Calculator
How the Bounce Test Works
Park on a level surface, push down firmly on the front or rear bumper, then release. Count how many times the vehicle bounces before settling. One to two bounces indicates healthy shocks. More than three bounces suggests worn shock absorbers.
When your ride starts feeling like a roller‑coaster, the first thing to suspect is the shock absorbers. Bad shocks can ruin comfort, shave off miles of tire life and even make a corner feel unsafe. This guide shows exactly how to spot a failing shock absorber, what tools you need for a quick DIY check, and when it’s time to call in a professional.
What a Shock Absorber Actually Does
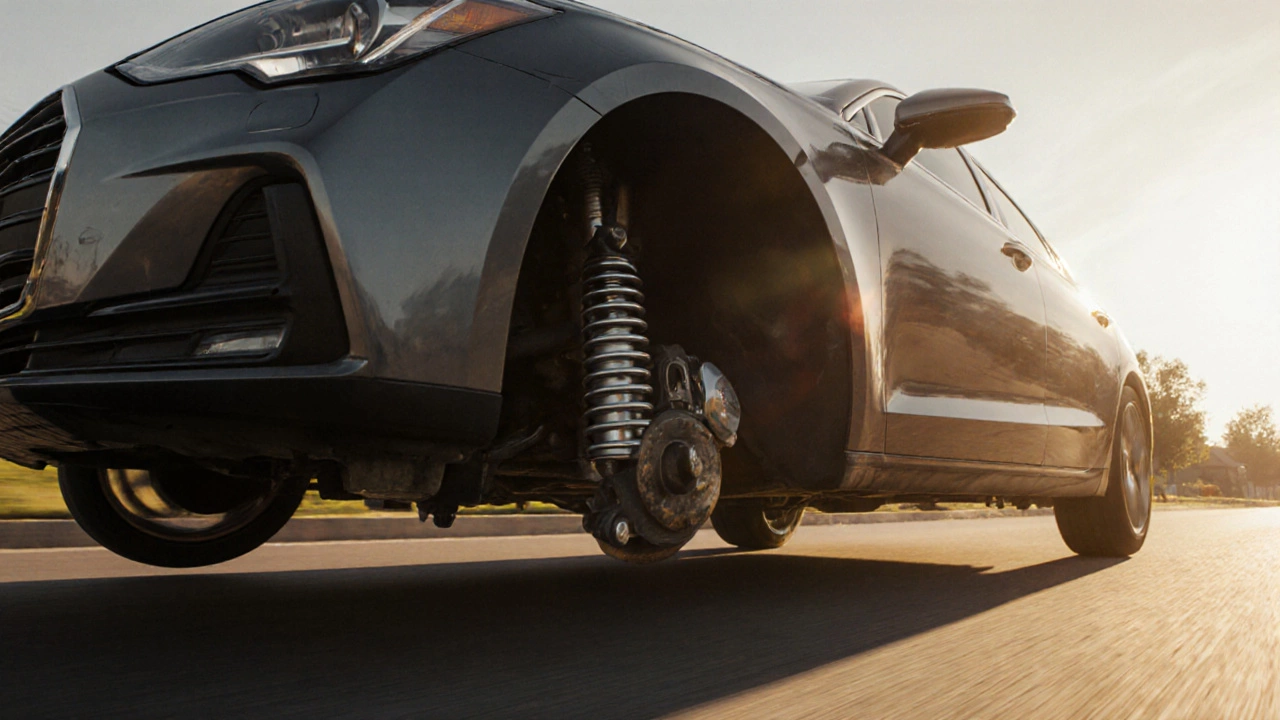
Shock absorber is a hydraulic device that converts kinetic energy from road impacts into heat, controlling the speed of spring movement and keeping the wheels in contact with the road. In simple terms, it dampens the bounce created by the suspension spring and prevents the car from pitching up and down. Paired with the spring, the shock absorber forms the core of the suspension system, which delivers comfort, handling and stability.
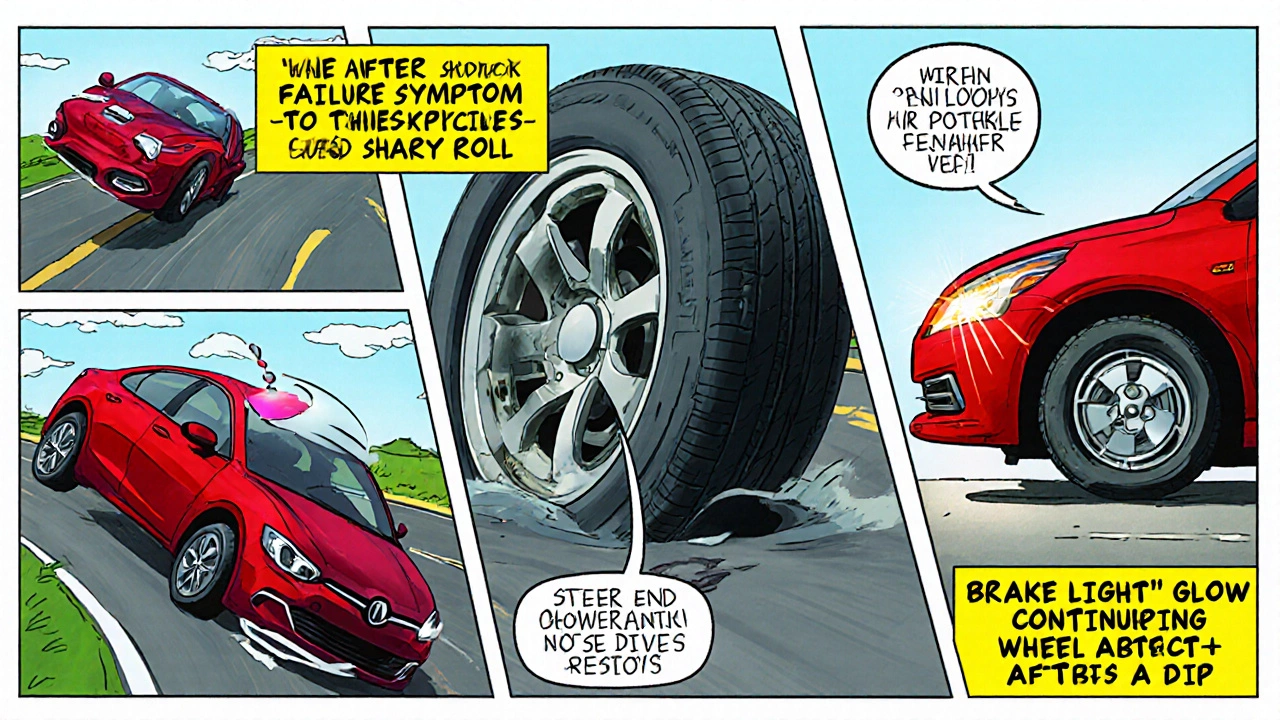
Top Six Signs Your Shocks Are Going Bad
- Excessive body roll - the car leans sharply when you turn a corner.
- Uneven tire wear - you’ll see cupping or feathering on the inner/outer edges.
- Clunking or knocking noises - especially when hitting a pothole or bump.
- Longer stopping distances - the vehicle nose‑dives under hard braking.
- Vibrations in the steering wheel - often mistaken for wheel balance issues.
- Constant bouncing after a dip - the car continues to hop like a spring.
If you notice any of these, it’s worth doing a quick visual and functional test before ordering parts.
Visual Inspection: What to Look for Under the Car
Grab a flashlight and get on a flat surface. You don’t need special tools, just a safe place to crawl.
- Check for oil leakage. A good shock absorber should be dry. Any brown or black fluid seeping out means the internal seal has failed.
- Inspect the shock body for dents, bends or rust. A bent shock can’t generate proper damping force.
- Look at the mounting bolts. Loose or corroded bolts can create play that mimics a bad shock.
- Examine the surrounding bushings (often made of rubber). Cracked or missing bushings also lead to clunking noises.
If the shock looks clean and intact, move on to dynamic testing.
Dynamic Tests: How to Feel a Bad Shock While Driving
These tests let you experience the suspension’s performance without a lift.
- Push‑over test - Park on a level surface, push down on the front bumper and let go. The car should bounce once and settle. Multiple bounces indicate worn damping.
- Speed‑bump test - Drive over a speed bump at 15-20 mph. A good shock absorbs the impact with a single, firm motion. If you feel a “jolt” followed by a bounce, the shock is weak.
- Cornering test - Take a gentle S‑curve at a moderate speed. Notice how much the body leans. Excessive lean or a “sloppy” feel points to insufficient damping.
- Hard‑brake test - Accelerate to 30 mph and brake hard. If the front end dives dramatically, the front shocks are likely worn.
Record what you feel; it will help you explain the problem to a mechanic if you decide to get professional help.
DIY Bounce Test: A Simple Tool‑Free Method
The bounce test works on both front and rear axles and only takes a minute.
- Park the car on a flat surface and turn off the engine.
- Press down firmly on the bumper (front) or trunk (rear) and release.
- Count how many times the vehicle bounces before coming to rest.
One to two bounces = healthy shock. More than three bounces means the damping fluid has thinned out and the shock needs replacement.
When to Replace: The Decision Matrix
Not all symptoms demand an immediate swap. Use this quick matrix to decide:
| Symptom | Severity | Recommended Action |
|---|---|---|
| Minor bounce on speed bump | Low | Monitor for 2‑3 months; re‑test monthly |
| Oil leak or physical damage | High | Replace immediately |
| Consistent clunking and uneven tire wear | Medium‑High | Replace within next service interval |
| Excessive body roll and long stopping distance | High | Replace before next long trip |
When in doubt, a professional mechanic can perform a hydraulic pressure test to confirm the internal condition.
Choosing the Right Replacement: Types and Compatibility
Not all shocks are created equal. Here’s a quick rundown of the most common types you’ll encounter:
- Monotube shocks - single chamber with high‑pressure gas; great for performance driving.
- Twin‑tube shocks - two chambers (reserve and working); more forgiving for everyday comfort.
- Gas‑charged shocks - add nitrogen to reduce fade under heavy use.
- Adjustable dampers - allow you to tweak rebound and compression via knobs.
- Air‑suspended shocks - paired with air springs; popular in luxury SUVs for ride height control.
Always match the replacement to your vehicle’s make, model and year. Check the OEM part number (often found on the shock body) and compare it to the aftermarket spec. If you drive a sport‑tuned car, a monotube or gas‑charged unit may be worth the extra cost.

Installation Tips and Common Pitfalls
If you feel confident with basic tools, swapping a shock can be a weekend project.
- Raise the vehicle safely with a jack and support it on jack stands.
- Remove the wheel to expose the top mount.
- Unbolt the shock’s lower mount from the control arm or axle.
- Detach the upper mount from the vehicle frame or strut tower.
- Replace the old shock with the new one, ensuring the mounts are tightened to the manufacturer’s torque specifications (usually around 30‑45 Nm for most passenger cars).
- Re‑install the wheel, lower the car and perform a quick bounce test to verify proper damping.
Common mistakes are over‑tightening the bolts (which can damage the mount) and forgetting to torque the top nut, leading to premature failure.
Maintenance: Extending Shock Life
While shocks are consumables, you can stretch their lifespan with a few habits:
- Avoid repeated hard impacts - take a different route if a road is full of potholes.
- Keep the suspension bushings clean and lubricated.
- Periodically check tire pressure; under‑inflated tires put extra strain on the shocks.
- Replace worn tires promptly - uneven tires affect how forces are transmitted to the shocks.
Regularly scanning for leaks or rust can catch a problem before it becomes a costly replacement.
Frequently Asked Questions
How often should shock absorbers be replaced?
Most manufacturers recommend replacement every 50,000-100,000 miles, but the interval drops if you drive on rough roads, haul heavy loads, or frequently feel any of the warning signs listed above.
Can I replace a shock absorber with a strut?
Only if the vehicle’s design uses a strut‑type assembly. In many front‑end designs, the strut combines a shock absorber and a coil spring, so you’d replace the whole unit, not just the shock.
Do bad shocks affect fuel economy?
Yes. When shocks can’t keep the tires glued to the road, the engine works harder to maintain speed, which can shave off 1‑2 % of fuel efficiency.
Is it safe to drive with leaking shocks?
Leaking fluid means the internal seal is compromised, reducing damping dramatically. It’s unsafe to continue driving, especially at higher speeds or on wet roads.
What’s the difference between a shock absorber and a damper?
Technically, they’re the same component. “Damper” is the engineering term, while “shock absorber” is the colloquial name most drivers use.
By keeping an eye on the symptoms, running a few simple tests, and knowing when to replace, you’ll keep your car handling sweet and your rides comfortable.