Clutch Replacement Cost & Savings Calculator
Job Details
Analysis Results
Enter your estimated costs and click calculate to see if doing it yourself is worth the effort.
Replacing a clutch kit is widely considered one of the most physically demanding jobs in home garage mechanics. If you have ever wondered whether you can tackle this yourself, the short answer is yes, but it comes with serious caveats. It is not just about swapping parts; it is about managing heavy components, dealing with tight tolerances, and spending an entire weekend under a vehicle.
The difficulty level depends heavily on your car’s layout. Front-wheel-drive cars are generally more accessible because the engine and gearbox often drop out as a single unit from underneath. Rear-wheel-drive vehicles, however, usually require removing the transmission separately, which involves lifting heavy loads and aligning shafts with precision. Before you buy that shiny new kit, let’s break down exactly what makes this job hard, what tools you actually need, and where things tend to go wrong.
Understanding the Scope of the Job
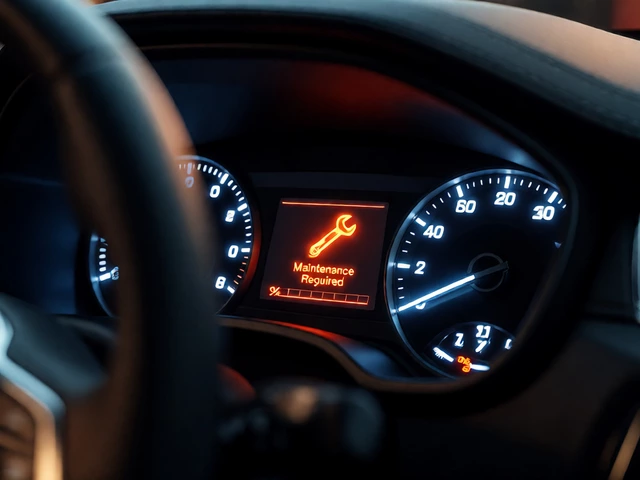
To understand the difficulty, you first need to know what you are taking apart. The clutch assembly sits between the engine flywheel and the transmission input shaft. Its job is to engage and disengage power from the engine to the wheels. When it wears out, you get slipping gears, a spongy pedal, or a smell of burning friction material.
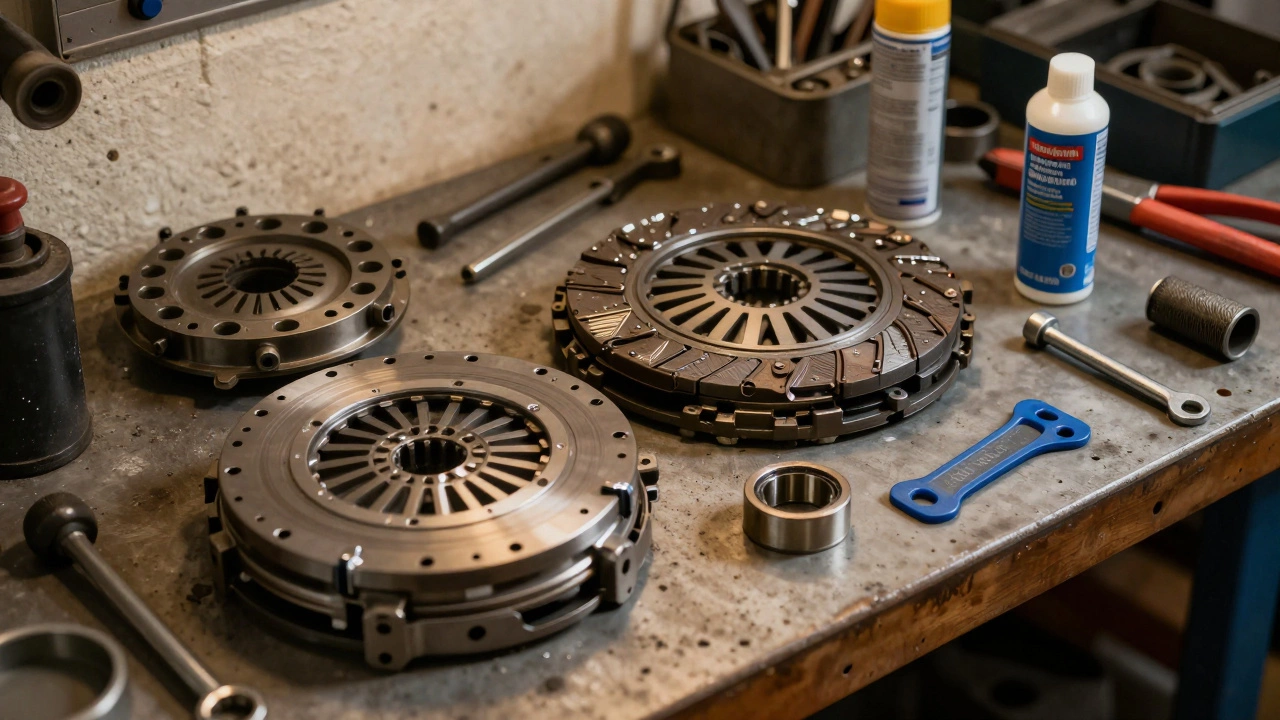
A standard clutch kit typically includes three main components:
- The Pressure Plate: This clamps the disc against the flywheel.
- The Clutch Disc: The friction material that connects to the transmission.
- The Release Bearing: Also known as the throw-out bearing, it pushes the pressure plate fingers to disengage the clutch.
While some kits include a pilot bushing or sleeve, others do not. You must check if your specific model requires these extra parts. The complexity arises because accessing these parts means separating the engine from the gearbox. In many modern cars, this also means disconnecting the battery, draining fluids, removing heat shields, and unbolting suspension components to create enough room to maneuver.
Tools and Equipment: More Than Just Wrenches
You cannot install a clutch kit with a basic socket set. The physical demands require specialized equipment. If you lack these tools, the job becomes exponentially harder and potentially dangerous.
| Tool Category | Specific Item | Why You Need It |
|---|---|---|
| Lifting | Floor Jack & Engine Support Bar | To hold the engine while the transmission is removed. |
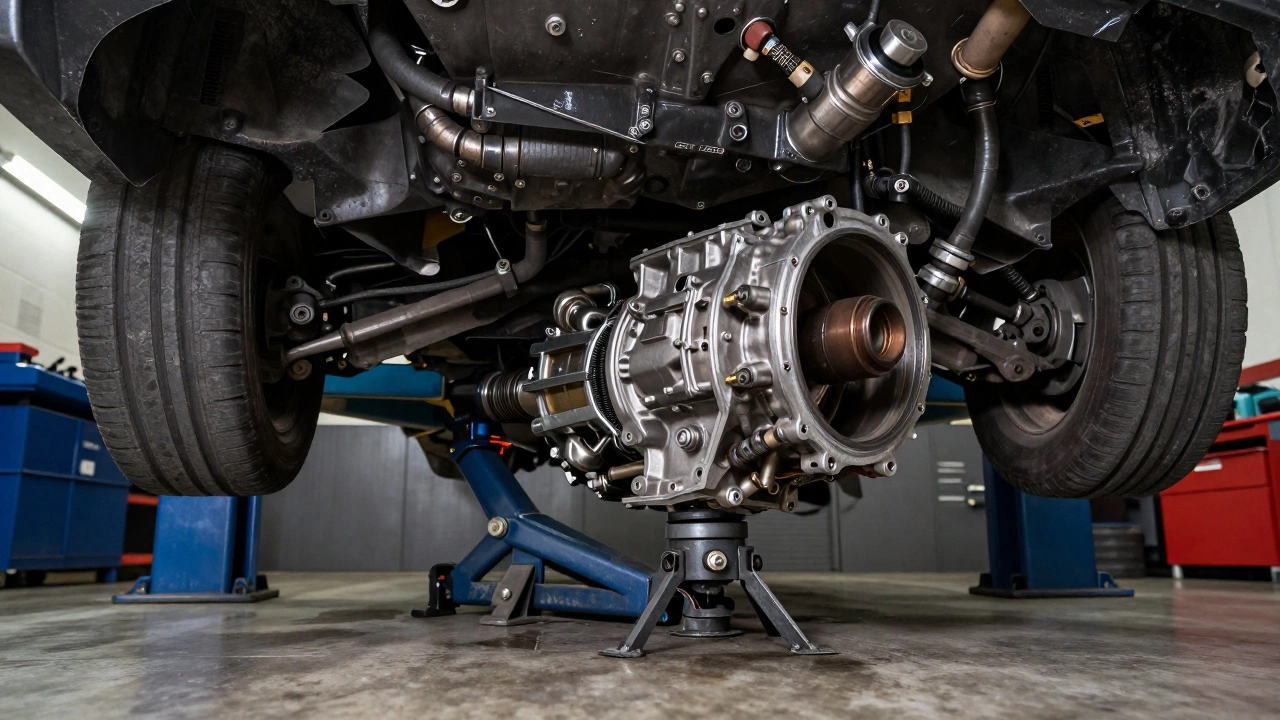
| Lifting | Transmission Jack | To safely lower and raise the heavy gearbox. |
| Torque Control | Click Torque Wrench | Critical for flywheel bolts and bellhousing alignment. |
| Alignment | Clutch Alignment Tool | Ensures the disc is centered on the input shaft. |
| Fasteners | Thread Locker (e.g., Loctite) | Prevents flywheel bolts from loosening due to vibration. |
Do not skip the torque wrench. Flywheel bolts are critical safety fasteners. If they are too loose, the flywheel can warp or detach. If they are too tight, you can strip the threads in the crankshaft. Manufacturers specify exact torque values, often in Newton-meters (Nm). For example, many Ford Fiesta models require flywheel bolts torqued to 70 Nm plus an additional 90-degree turn. Always consult your service manual.
The Step-by-Step Reality Check
The process generally follows a logical sequence, but each step presents its own challenges. Here is what the workflow looks like in practice.
- Preparation: Disconnect the battery negative terminal. Drain the transmission fluid if required by your model. Remove any body panels, air intakes, or heat shields blocking access to the drivetrain.
- Disconnection: Unbolt the exhaust downpipes if they interfere. Disconnect the gear shift linkage, clutch hydraulic lines, and all electrical connectors attached to the transmission. Note: Take photos at every stage. Reassembly relies on knowing exactly where each wire and bolt goes.
- Support and Separation: Place the engine support bar securely. Remove the bellhousing bolts that connect the engine to the transmission. This is the moment of truth. You must wiggle the transmission free without damaging the input shaft seal or the starter motor.
- Removal: Lower the transmission using the jack. On rear-wheel-drive cars, you may need to pull the driveshafts out first. On front-wheel-drive cars, the half-shafts often come out with the transmission or need to be swung aside.
- Inspection: Once the transmission is gone, you see the old clutch. Remove the pressure plate bolts. Inspect the flywheel. If it has hot spots, cracks, or deep scoring, you must machine or replace it. Installing a new clutch on a worn flywheel will cause premature failure and noise.
- Installation: Clean the flywheel surface thoroughly with brake cleaner. No oil or grease is allowed. Mount the new clutch disc and pressure plate. Use the alignment tool to center the disc. Torque the pressure plate bolts in a star pattern to ensure even pressure.
- Reassembly: Raise the transmission back into place. Align the input shaft with the pilot bearing in the crankshaft. This step often requires patience and sometimes gentle persuasion with a mallet. Bolt the bellhousing back up. Reconnect all linkages, wires, and fluids.
Common Pitfalls That Turn Easy Into Nightmare
Even experienced mechanics make mistakes during clutch jobs. Awareness of these pitfalls can save you hours of frustration.
Misalignment of the Clutch Disc: If the disc is not perfectly centered when you reinstall the transmission, the input shaft will not slide in smoothly. Forcing it can bend the shaft or damage the splines. Always use the plastic alignment tool provided with the kit. If you lose it, buy a replacement immediately.
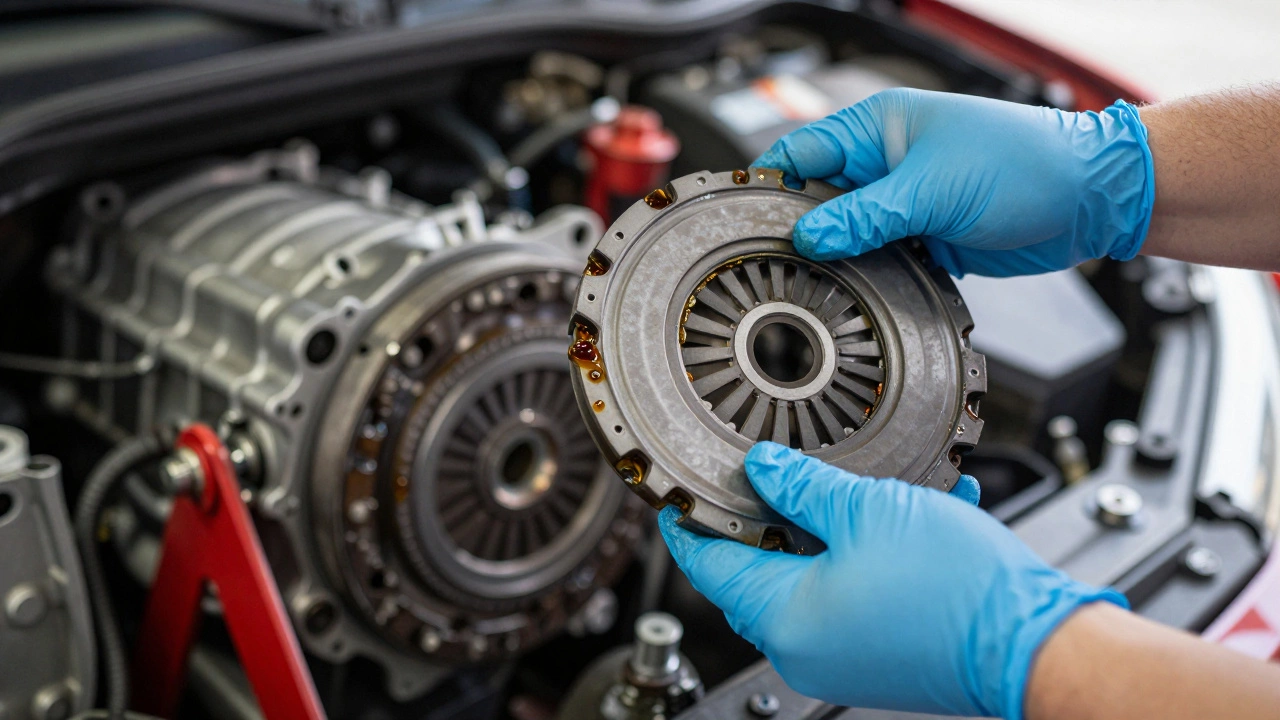
Dirty Hands: Your hands carry natural oils. When handling the new clutch disc, wear nitrile gloves. Even a thin film of oil on the friction surface can cause the clutch to slip immediately after installation. If you touch the disc, clean it with brake cleaner before mounting.
Ignoring the Throw-Out Bearing: Never reuse the old release bearing. They are inexpensive and prone to failure. Ensure the new bearing slides freely on the transmission tail shaft. Some bearings require a retaining clip; others press fit. Know which type your car uses.
Tightening Bolts Incorrectly: Bellhousing bolts often have different lengths. Using the wrong length can crack the aluminum housing or fail to secure the joint properly. Keep bolts organized by location. Label them with masking tape if necessary.
When Should You Call a Professional?
There are scenarios where DIY is not advisable. If your car has a dual-clutch transmission (DCT) or a continuously variable transmission (CVT), do not attempt this yourself. These systems are complex and often require specialized diagnostic software to recalibrate after service.
Additionally, if your vehicle has limited underbody clearance, such as many modern luxury sedans or SUVs with extensive subframes, removing the transmission may require removing the subframe itself. This adds significant time and risk of misalignment.
Consider your physical ability. Lifting a transmission weighs between 50 and 100 kilograms. Doing this repeatedly in awkward positions can lead to injury. If you do not have a transmission jack, renting one is essential. Trying to lift it with a regular floor jack is unsafe.
Cost vs. Time Analysis
Let’s look at the numbers. A professional shop might charge £800 to £1,200 for a clutch replacement, depending on the vehicle. Parts cost roughly £150 to £300. Labor accounts for the majority of the cost because the job takes 4 to 8 hours for a professional.
If you do it yourself, you save the labor cost. However, you invest 10 to 15 hours of your own time. Factor in the cost of tools if you don’t already own them. An engine support bar costs around £50. A transmission jack is £80 to £150. Thread locker and brake cleaner add another £20.
For a hobbyist who enjoys working on cars, the savings are worth the effort. For someone who needs their car daily and lacks space or experience, the stress and potential for costly errors may outweigh the financial benefit.
Post-Installation Break-In Period
Installing the clutch is only half the battle. How you drive the car afterward determines its lifespan. New clutch discs need to bed in properly. Avoid aggressive driving for the first 500 miles.
- Do not ride the clutch pedal.
- Avoid high RPM shifts.
- Drive gently and allow the transmission to warm up.
- Vary your speeds to prevent glazing the friction material.
This break-in period ensures the friction surfaces mate correctly with the flywheel and pressure plate. Skipping this step can lead to reduced performance and shorter life.
How long does it take to install a clutch kit?
For a first-time DIYer, expect to spend 10 to 15 hours over two weekends. An experienced mechanic might complete it in 4 to 6 hours. The time varies based on vehicle accessibility and whether additional repairs are needed.
Can I install a clutch kit without removing the transmission?
In almost all cases, no. The clutch is located between the engine and transmission. While some rare models allow top-down access, the vast majority require the transmission to be lowered or removed to access the pressure plate and disc.
Do I need to replace the flywheel with a new clutch?
Not always, but it is highly recommended. If the flywheel shows signs of wear, heat checking, or warping, it must be machined or replaced. Installing a new clutch on a damaged flywheel leads to quick failure and noisy operation.
What happens if I force the transmission into place?
Forcing the transmission can bend the input shaft, damage the pilot bearing, or tear the clutch disc. If the transmission does not slide in smoothly, remove it, check the alignment tool, and ensure the disc is centered correctly.
Is it safe to drive with a failing clutch?
It is not safe for long. A slipping clutch generates excessive heat, which can damage the transmission and engine mounts. Eventually, the clutch may fail completely, leaving you stranded. Replace it as soon as symptoms appear.