Exhaust Installation Time & Cost Estimator
Estimated Time Required
Cost Analysis
Configure your job details to see time and cost estimates.
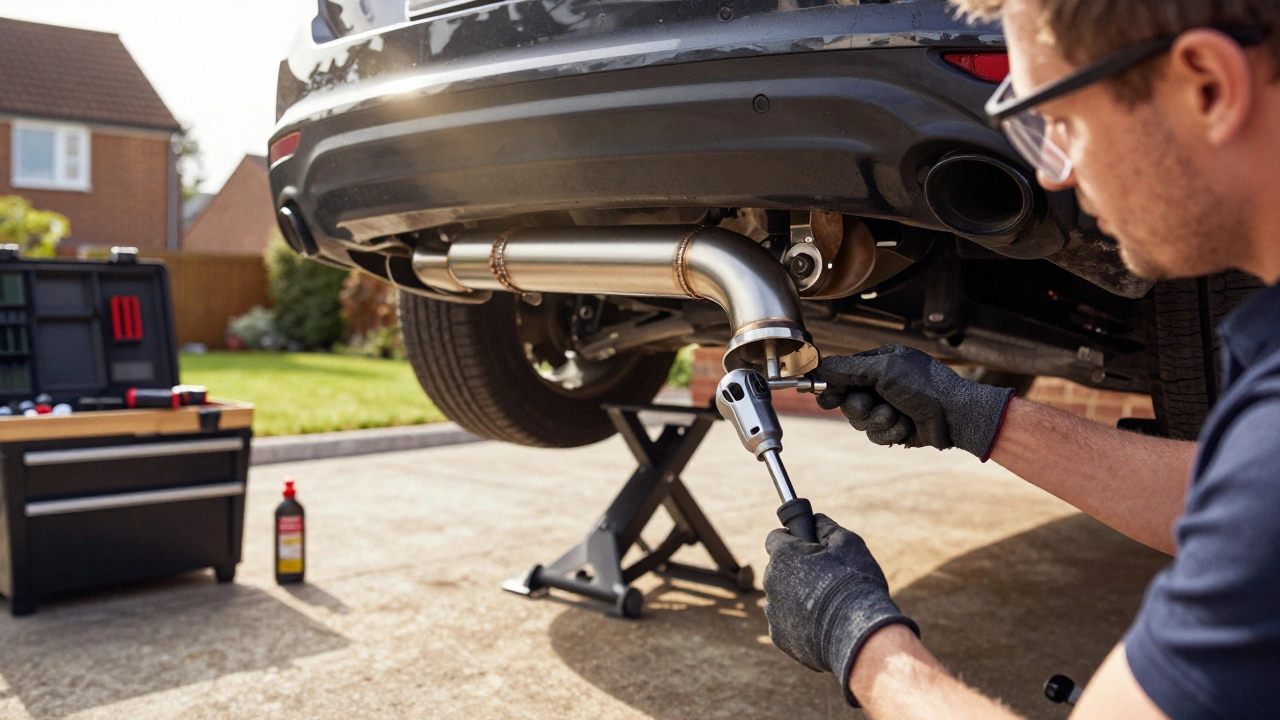
There is no single answer to how long it takes to install a full exhaust system. If you are standing in your driveway with a brand-new cat-back system and a decent set of tools, you might be done in two hours. If you are looking at a rusted-out factory setup on a ten-year-old SUV that hasn't seen a mechanic since the previous administration, you could easily spend six hours or more just getting the old parts off.
The difference comes down to three main factors: the condition of the existing hardware, the complexity of the new system, and your own skill level. Understanding these variables helps you plan your weekend correctly so you aren't stuck under a car when the sun goes down.
Breakdown by Installation Type
Not all "full" exhaust jobs are created equal. The term can mean different things depending on who you ask. A professional shop might quote you for a "full system," while a DIYer might think they are only replacing the rear section. Here is how the time estimates break down by scope.
| Installation Type | Professional Mechanic | DIY Beginner | DIY Experienced |
|---|---|---|---|
| Cat-Back System (Muffler & Pipes) | 1-2 hours | 3-5 hours | 1.5-2.5 hours |
| Downpipe Swap (Turbo to Cat) | 1-1.5 hours | 2-4 hours | 1-2 hours |
| Full Front-to-Back (Headers/Mid/Cat/Back) | 3-6 hours | 8-12+ hours | 4-7 hours |
| Performance Headers + Back | 4-8 hours | 10-15+ hours | 6-9 hours |
A cat-back system is the most common upgrade. It replaces everything from the catalytic converter back. Since the catalytic converter stays in place, you avoid dealing with tight engine bay spaces and complex oxygen sensor wiring. This is why pros can knock this out quickly. For a beginner, the challenge isn't the installation; it's removing the old, seized bolts without snapping them off.
A full front-to-back system involves removing the catalytic converters and often the headers or downpipes. This requires lifting the car higher, supporting the engine, and working in cramped spaces near the firewall. If your car has a turbocharger, swapping the downpipe adds another layer of complexity because those flanges are notoriously difficult to align.
The Rust Factor: Why Old Cars Take Longer
If your car is older than five years, especially if you live in a region where roads are salted in winter, rust is your biggest enemy. In Manchester, we see this constantly. A car that looks fine on the outside can have exhaust hangers and bolts fused together by corrosion underneath.
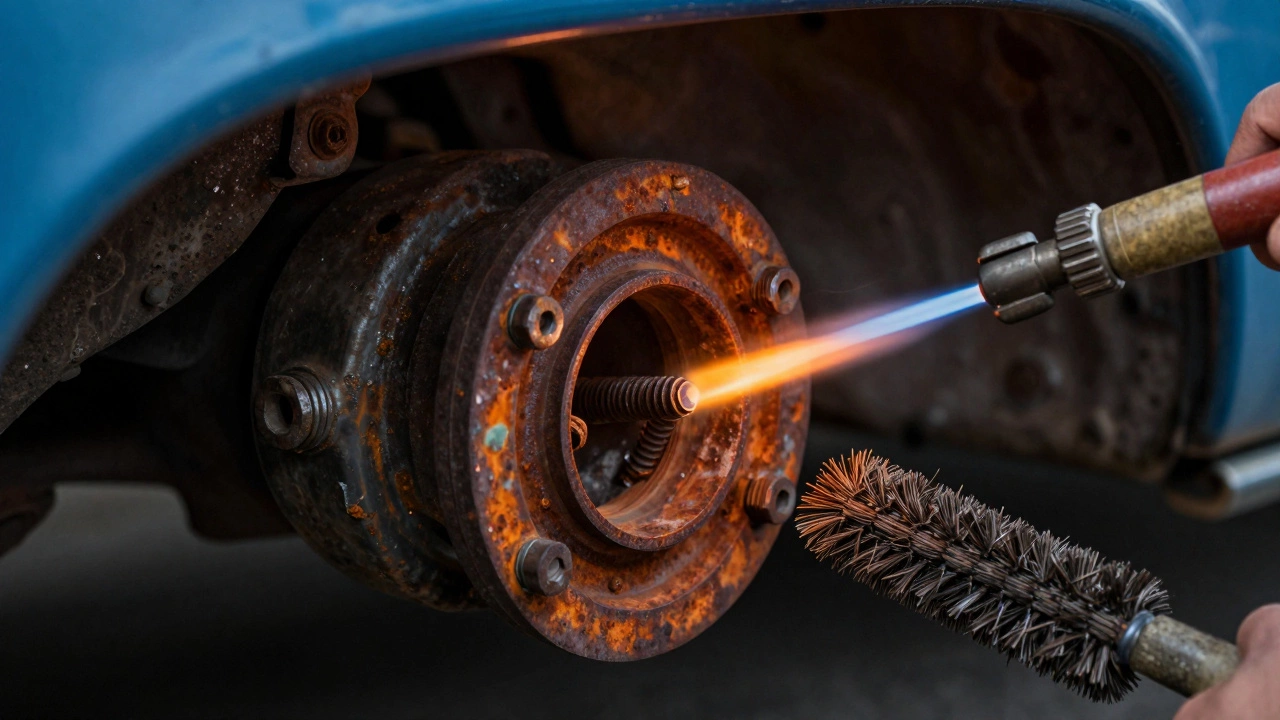
Rust turns a simple bolt removal into a battle. You will need penetrating oil (like WD-40 Specialist or PB Blaster) applied at least an hour before you start. Even then, you might need heat from a propane torch to break the bond between the steel threads. Be careful not to overheat nearby rubber hoses or fuel lines.
When bolts snap off-which they often do-you need an easy-out kit or a left-hand drill bit to remove the stubs. Each broken bolt can add 30 to 60 minutes to your project. Always count your bolts before you start disassembly. If you lose one or break one, you’ll need to order replacements, which delays the job indefinitely.
Tools That Save Time
Trying to install an exhaust with just a basic socket set is a recipe for frustration. The right tools don't just make the job easier; they significantly reduce the time spent struggling with stubborn components.
- Oxygen Sensor Socket: Standard sockets won't fit O2 sensors. An oxygen sensor socket has a slot to allow the wire to pass through. Without this, you risk damaging the sensor or its wiring, leading to check engine lights and costly repairs.
- Swivel Head Ratchet: Exhaust systems are installed in tight spaces. A swivel head allows you to angle the ratchet around pipes and brackets that block straight-line access.
- Propane Torch: Heat expands metal and breaks rust bonds. A small torch is essential for loosening seized flange bolts and hanger pins.
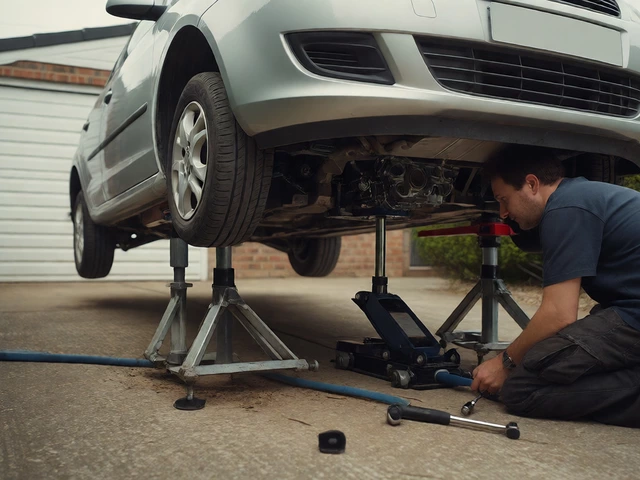
- Jack Stands: Never work under a car supported only by a jack. Use four jack stands rated for your vehicle's weight. Stability saves time because you don't have to worry about the car shifting while you're trying to align pipes.
- Pipe Wrenches: Sometimes you need to hold a pipe steady while tightening a nut. Pipe wrenches provide the grip needed to prevent rotation.
If you don't own these tools, renting them or borrowing from a friend can save you hours of improvisation. Improvising usually leads to stripped bolts and damaged parts, which ultimately costs more time and money.
Step-by-Step Process Overview
Understanding the workflow helps you anticipate where delays might occur. Here is the general sequence for a full exhaust installation:
- Safety First: Park on a flat surface, engage the parking brake, and chock the wheels. Lift the car and secure it on jack stands. Allow the exhaust to cool completely if the car has been running recently.
- Remove Old System: Start from the back and work forward. Remove the muffler first, then the mid-pipes, and finally the catalytic converters or headers. Support the weight of each section as you unbolt it to prevent damage to mounts or sensors.
- Clean Flanges: Use a wire brush or sandpaper to clean the mating surfaces of the new and existing parts. Clean surfaces ensure a proper seal and prevent leaks.
- Install New Hangers: Many aftermarket kits come with new rubber hangers. Install these now. They are easier to put in place before the heavy pipes are attached.
- Fit New System: Work from the front backward. Attach the headers or downpipe first, then the mid-pipes, and finally the muffler. Do not fully tighten bolts yet. Align all sections loosely first.
- Tighten and Seal: Once everything is aligned, tighten bolts to the manufacturer's specifications. Use high-temperature thread locker on bolts to prevent future loosening due to vibration.
- Final Check: Lower the car slightly so the weight rests on the hangers. Re-check bolt tightness. Start the engine and listen for leaks. Inspect for any rubbing against the chassis.
The alignment step is critical. If you tighten bolts too early, you may force the pipes out of position, causing stress points that can crack later. Take your time here. Misalignment is the most common cause of premature failure in DIY installations.
Common Pitfalls That Add Hours
Even experienced mechanics encounter surprises. Being aware of these pitfalls can help you mitigate their impact on your timeline.
Broken Hanger Pins: Rubber exhaust hangers degrade over time. When you try to slide the pin out, it often snaps. Keep spare pins on hand. If you don't have spares, you'll need to improvise with zip ties temporarily, but this is not a permanent solution.
Clamp Slippage: Some aftermarket clamps are poorly manufactured. If a clamp slips during tightening, you may need to reposition it or replace it. Invest in quality V-band clamps or worm-drive clamps from reputable brands.
Clearance Issues: Aftermarket exhausts sometimes rub against the subframe or suspension components. Before finalizing the installation, manually move the suspension up and down to simulate driving conditions. Adjust hanger positions if necessary to prevent contact.
O2 Sensor Damage: If your new system includes pre-bunged holes for oxygen sensors, ensure the sensors are properly seated and torqued. Cross-threading an O2 sensor can ruin the sensor and the bung, requiring expensive repairs.
When to Call a Professional
While DIY exhaust installation can save money, there are scenarios where hiring a professional is the smarter choice. Consider calling a pro if:
- You lack the necessary tools or workspace.
- The car has severe rust, making bolt removal risky.
- You are installing a complex system involving custom fabrication.
- You are uncomfortable working under a vehicle.
- The job exceeds 10 hours of your estimated time, indicating potential hidden issues.
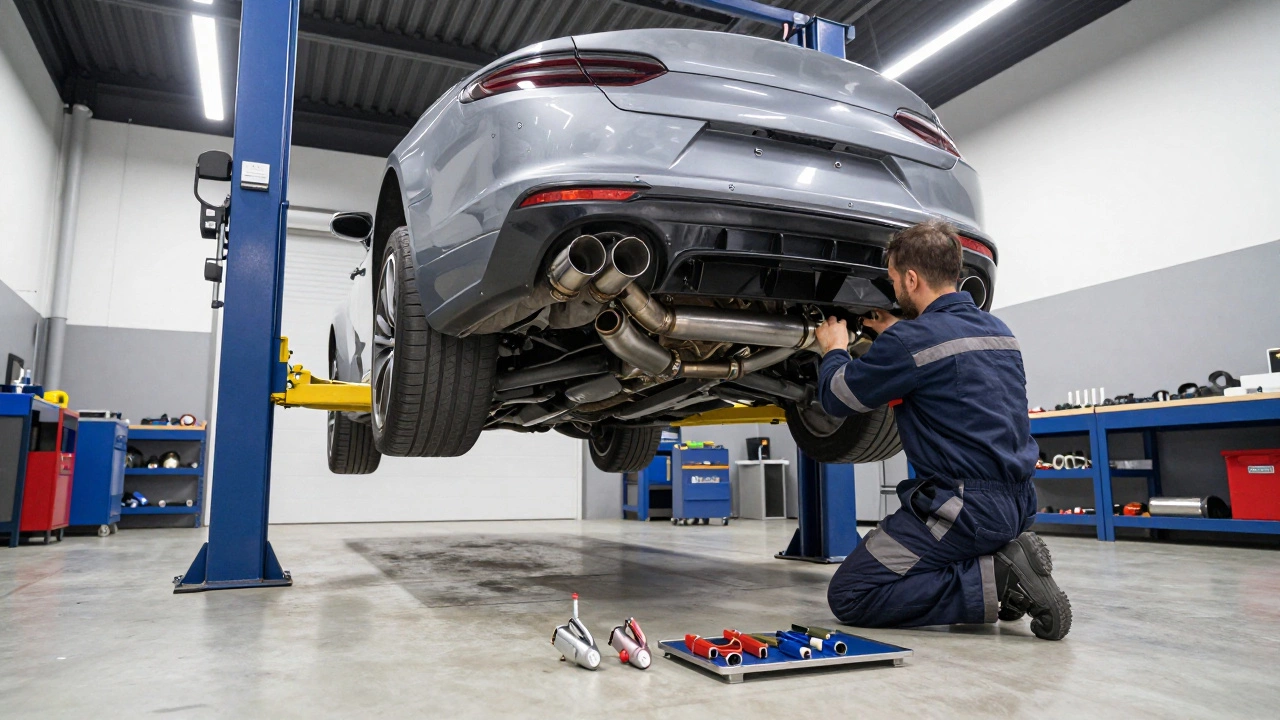
Professionals have lifts, specialized tools, and experience with tricky installations. They can often complete a full system swap in half the time it would take a novice, plus they guarantee their work. If your time is valuable, paying for expertise might be worth it.
Cost vs. Time Trade-Off
Let's look at the numbers. A full performance exhaust system can cost anywhere from £500 to £2,000+, depending on the brand and materials. Labor rates vary, but expect to pay £50 to £100 per hour for installation.
If you install it yourself, you save the labor cost but invest your time. If you value your time at £20 an hour, and the job takes you eight hours, you've "spent" £160 in personal time. Compare this to a mechanic charging £300 for the same job. The savings are clear, but only if you finish efficiently.
However, if you break a bolt, strip a thread, or damage an O2 sensor, those mistakes can quickly erase your savings. Always factor in a contingency budget for unexpected parts or tool rentals.
Can I install a full exhaust system myself?
Yes, if you have basic mechanical skills, the right tools, and a safe workspace. It is a moderate-difficulty project. Beginners should start with a cat-back system before attempting a full front-to-back installation. Safety is paramount-always use jack stands and wear protective gear.
Do I need special tools to install an exhaust?
You don't need exotic equipment, but specific tools make the job much faster and safer. Essential items include an oxygen sensor socket, swivel ratchets, a propane torch for rusted bolts, and jack stands. Without these, you risk damaging parts or injuring yourself.
How much does it cost to install a full exhaust system professionally?
Labor costs typically range from £150 to £600, depending on the complexity of the system and local labor rates. A simple cat-back might be on the lower end, while a full custom system with headers can exceed £600 in labor alone. Always get a written quote before starting.
What is the hardest part of exhaust installation?
Removing the old, rusted bolts is usually the most challenging part. Seized bolts can snap off, requiring extraction tools and patience. Aligning the new pipes without forcing them is also tricky, as misalignment can lead to leaks or cracks later.
Will a new exhaust void my warranty?
It depends on your warranty terms and the type of exhaust. Performance exhausts that alter emissions (like deleting catalytic converters) can void emissions-related warranties. Cat-back systems generally have less impact, but always check with your dealer or manufacturer first. In the UK, MOT standards must also be considered.