Radiator Replacement Interactive Guide
-
1Drain the Old Coolant
Place drain pan under petcock or lower hose. Ensure engine is cold.
-
2Disconnect Electrical Connections
Unplug fan wiring harnesses. Note positions for reconnection.
-
3Remove Hoses and Lines
Disconnect upper/lower hoses and transmission cooler lines carefully.
-
4Unbolt the Radiator
Remove mounting brackets (top/bottom) securing unit to core support.
-
5Lift Out Old Unit & Inspect
Tilt forward to clear grille. Check area for leaks or damage.
-
6Install New Radiator
Lower new unit, align hoses, reattach brackets. Do not overtighten plastic mounts.
-
7Reconnect Hoses and Lines
Attach all hoses/lines. Use new clamps if old ones are worn.
-
8Refill and Bleed System
Fill with correct mix. Run engine with heater on high to remove air pockets.
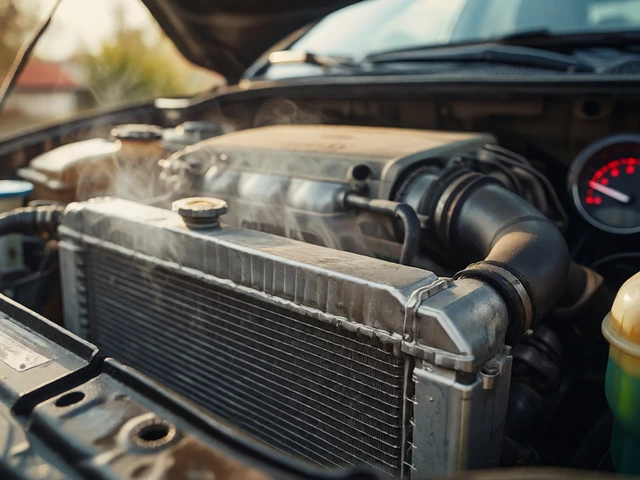
Never open a hot radiator. Pressure causes scalding steam eruptions. Wait until the engine is completely cold.
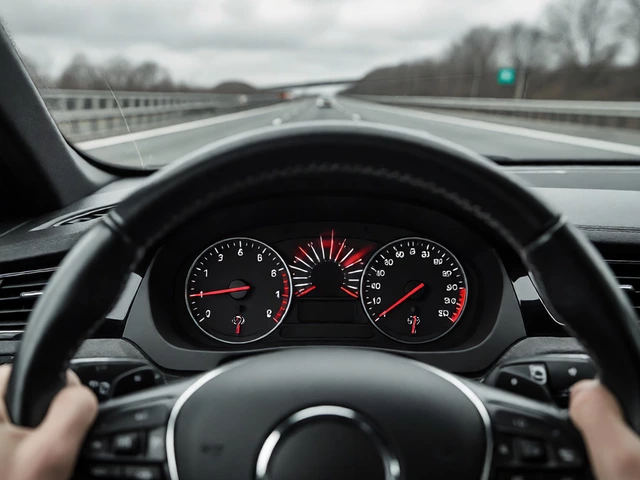
There is nothing quite as panic-inducing as watching your temperature gauge climb into the red zone while stuck in traffic. Your first thought is often a broken car radiator, which is the primary heat exchanger responsible for cooling the engine by transferring heat from the coolant to the air. The immediate question that follows is usually: "Can I fix this myself, or do I need a mechanic?" The short answer is that replacing a radiator is moderately difficult. It is not impossible for a beginner with patience and basic tools, but it is certainly not a five-minute job like changing an oil filter.
To give you a realistic expectation, we need to break down what actually goes into this repair. We are going to look at the tools you will need, the step-by-step process, and the specific pitfalls that can turn a simple swap into a costly mistake. By the end of this guide, you will know exactly whether you have the skills and space to tackle this job yourself.
Understanding the Difficulty Level
The difficulty of replacing a radiator depends heavily on your vehicle’s layout. In a front-wheel-drive sedan with a transverse engine, the radiator sits right at the front, behind the grille. This makes it relatively accessible. However, in rear-wheel-drive cars or trucks with longitudinal engines, the radiator might be tucked deep behind other components. Some modern vehicles also place the condenser (part of the air conditioning system) directly against the radiator, adding another layer of complexity.
Here is a quick breakdown of factors that increase the difficulty:
- Engine Orientation: Transverse engines (front-wheel drive) are generally easier to work on than longitudinal setups.
- Coolant Type: Older cars use standard ethylene glycol. Newer cars often use organic acid technology (OAT) or hybrid organic acid technology (HOAT) coolants, which require specific flushing procedures to prevent chemical reactions.
- Integrated Components: Many modern radiators come with the overflow tank, transmission cooler lines, and even the fan shroud pre-attached. Removing these requires extra care to avoid cracking plastic tanks.
- Access Space: If you have to remove the bumper cover or headlights to get to the radiator, the job becomes significantly more time-consuming and requires more specialized trim removal tools.
For most average drivers, if you have successfully changed your own brake pads or spark plugs, you likely have the mechanical aptitude for this job. If you have never touched anything under the hood, you might want to start with something simpler first.
Tools and Materials You Will Need
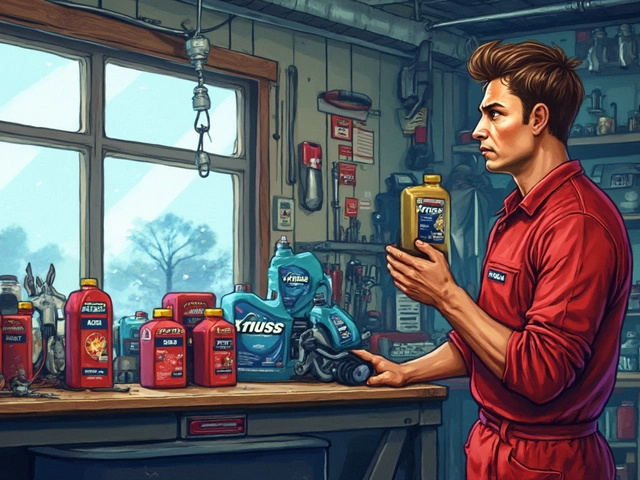
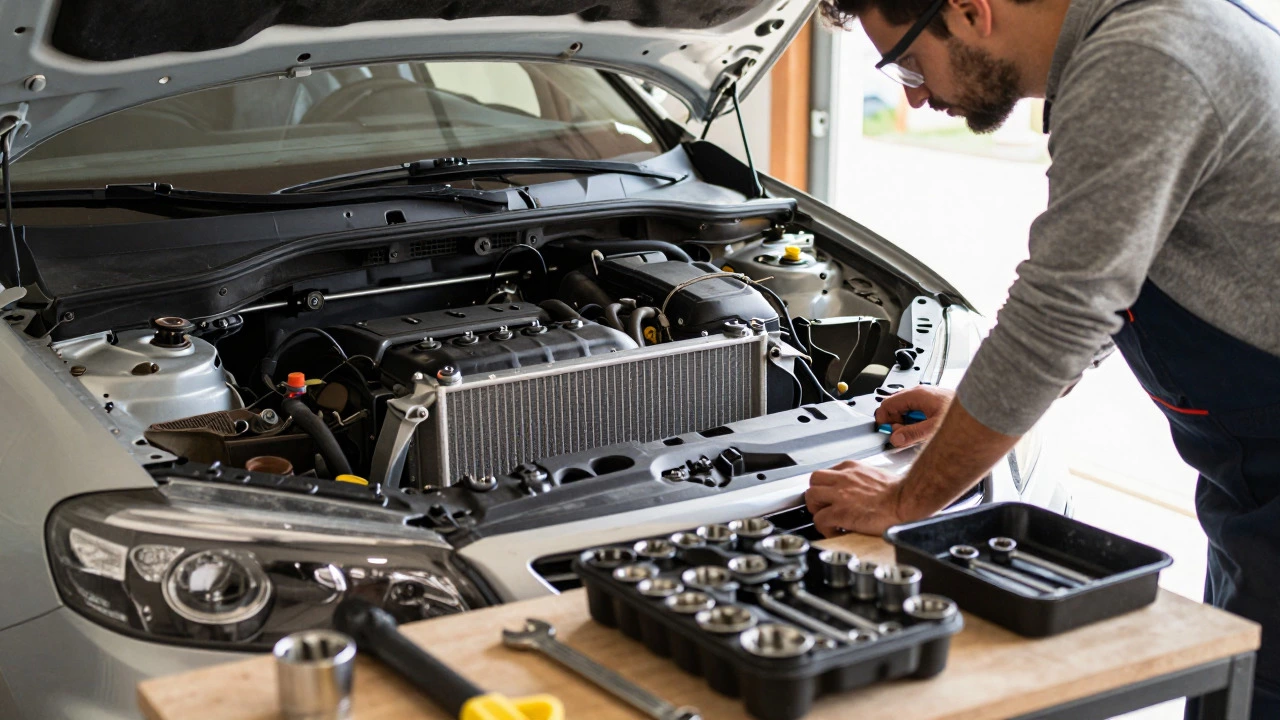
Before you buy a new radiator, make sure you have the right tools. Trying to improvise with household wrenches often leads to stripped bolts and damaged hoses. Here is the essential kit for a standard radiator replacement:
| Tool/Material | Purpose | Notes |
|---|---|---|
| Socket Set (Metric) | Removing mounting bolts and hose clamps | Most European and Asian cars use metric sizes (10mm, 12mm, 14mm). American cars may use SAE. |
| Hose Pliers or Screwdriver | Releasing spring clamps or loosening worm clamps | Spring clamp pliers make life much easier than twisting screwdrivers. |
| Coolant Drain Pan | Catching old coolant | Use a dedicated container. Coolant is toxic to pets and harmful to the environment. |
| New Coolant | Filling the system | Check your owner's manual for the correct specification (e.g., G12, G13, Dex-Cool). |
| Funnel | Pouring coolant without spills | A funnel with a long neck helps reach the reservoir or radiator neck. |
| Radiator Cap Wrench | Removing stubborn caps | Only needed if the cap is tight or corroded. |
You will also need a clean rag and possibly some penetrating oil if your bolts are rusty. Do not skip the penetrating oil; trying to force a seized bolt can snap it off, turning a one-hour job into a half-day extraction mission.
Step-by-Step Replacement Process
Safety is paramount here. Never open a hot radiator. The pressure inside can cause scalding steam and boiling coolant to erupt violently. Wait until the engine is completely cold before starting.
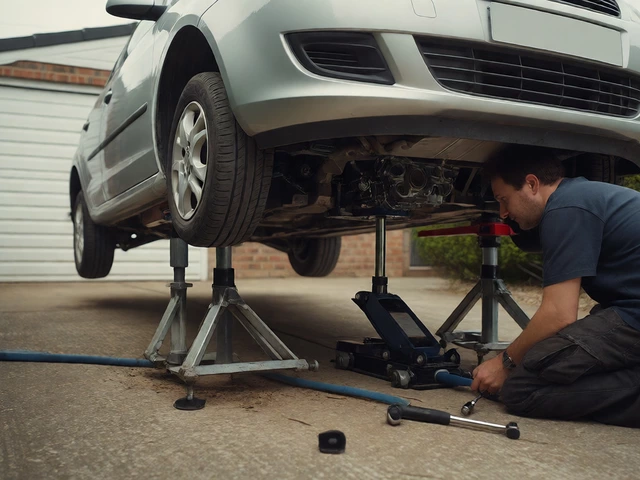
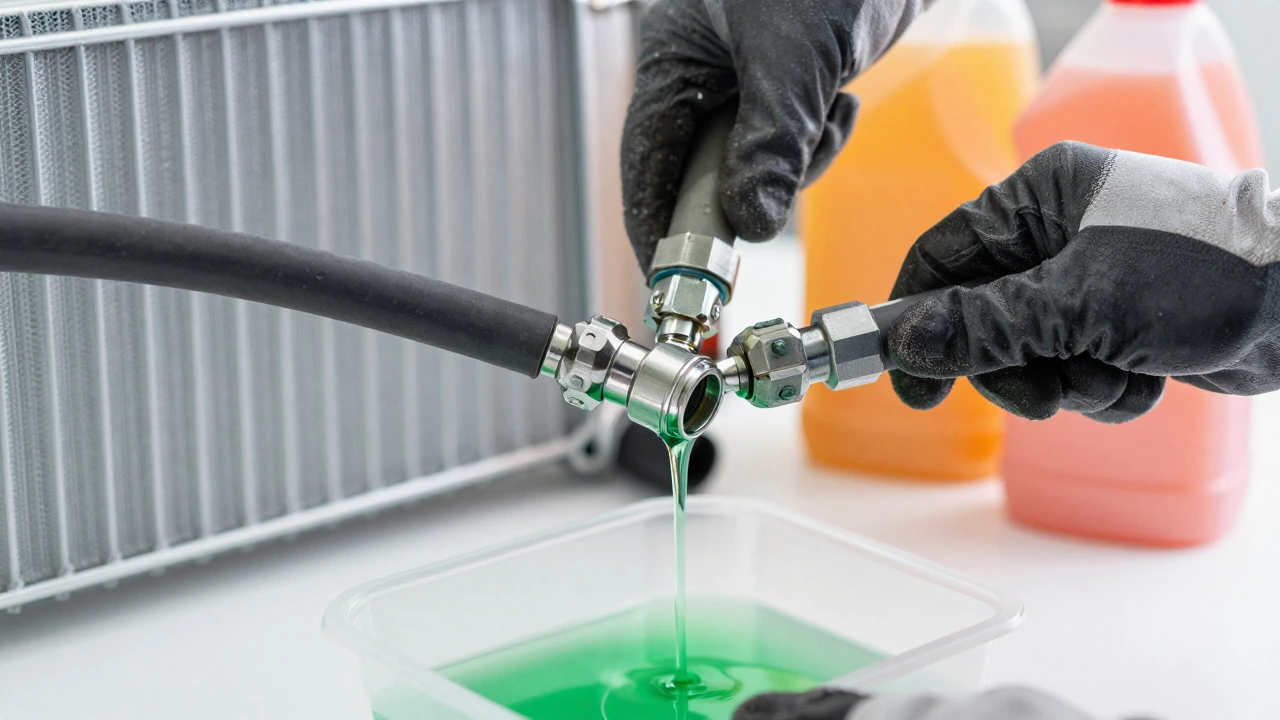
- Drain the Old Coolant: Place your drain pan under the bottom of the radiator. Locate the drain petcock (a small valve at the bottom). Open it to let the coolant flow out. If there is no petcock, you may need to disconnect the lower radiator hose. This is often messy, so have plenty of rags ready.
- Disconnect Electrical Connections: Most modern radiators have electric fans attached. Unplug the wiring harnesses for the fans. Note their positions so you can reconnect them correctly later.
- Remove Hoses and Lines: Disconnect the upper and lower radiator hoses. Also, disconnect any transmission cooler lines if your vehicle has an automatic transmission. These lines are often thin metal tubes connected with small nuts. Be careful not to drop debris into the open ports.
- Unbolt the Radiator: Remove the mounting brackets that hold the radiator in place. There are usually two or four bolts securing the top and bottom of the unit to the core support.
- Lift Out the Old Unit: Carefully lift the radiator out. Tilt it slightly forward to clear the grille. Inspect the area for leaks or damage while it is out.
- Install the New Radiator: Lower the new radiator into place. Ensure the hoses align correctly. Reattach the mounting brackets and tighten the bolts securely but do not overtighten, especially if the mounts are plastic.
- Reconnect Hoses and Lines: Attach all hoses and transmission lines. Use new hose clamps if possible, as old ones lose their grip over time.
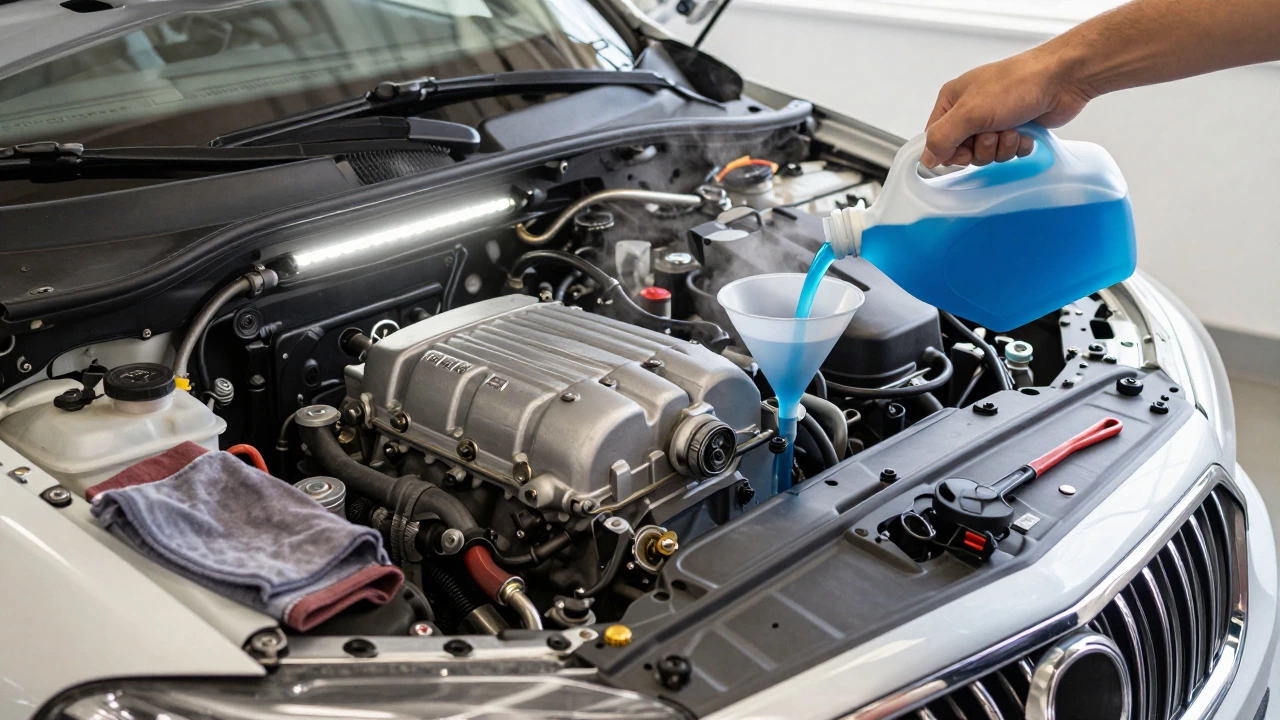
- Refill and Bleed: Fill the system with the correct coolant mixture. Start the engine and let it run with the heater on high to help circulate the fluid and remove air pockets. Watch the level closely and top it off as needed.
The bleeding process is critical. Air trapped in the cooling system creates hot spots that can warp your cylinder head. Take your time here. Run the engine until the thermostat opens and the fans kick in, then check the coolant level again.
Common Mistakes to Avoid
Even experienced mechanics make mistakes during radiator swaps. Here are the most common errors that lead to repeat visits to the garage:
- Mixing Coolant Types: Pouring green coolant into a system designed for orange or pink coolant can cause sludge formation. Always check the filler neck or owner's manual for the required specification.
- Overlooking the Thermostat: If your engine was overheating due to a clogged radiator, the thermostat might also be failing. It is cheap insurance to replace the thermostat and its housing gasket at the same time.
- Damaging the Condenser: In many cars, the AC condenser sits inches away from the radiator. When lifting the old radiator out, it is easy to scrape the condenser fins. Bent condenser fins reduce AC efficiency and can puncture the unit.
- Forgetting the Overflow Tank: The overflow tank (or expansion bottle) also needs to be emptied and refilled. Leaving it empty means the system cannot expand properly when hot, leading to pressure buildup and leaks.
- Not Checking for Leaks Immediately: After refilling, inspect all connections before driving. A small leak now can become a major loss of coolant once the car heats up and pressurizes.
If you hear a hissing sound after installation, you likely have a loose hose clamp or a cracked component. Tighten or replace as necessary.
When to Call a Professional
While DIY is rewarding, there are scenarios where paying a professional is the smarter financial decision. Consider hiring a mechanic if:
- Your Vehicle Requires Bumper Removal: Some SUVs and luxury cars require removing the entire front bumper assembly to access the radiator. This involves dozens of clips and screws that can easily break or be lost.
- There Is Internal Engine Damage: If your engine blew a head gasket before overheating, combustion gases may have entered the cooling system. Simply replacing the radiator won't fix the root cause. A compression test is needed.
- You Lack Proper Disposal Facilities: Coolant must be recycled. If you don't have access to a recycling center, taking your car to a shop ensures proper disposal.
- The Transmission Cooler Lines Are Integrated: On some models, the transmission cooler lines are welded or permanently attached to the radiator. Swapping these requires specialized crimping tools that most homeowners don't own.
A professional shop typically charges between £150 and £300 for labor, depending on the vehicle. Factor this in against the cost of buying tools you might only use once.
Maintaining Your New Radiator
Once your new radiator is installed, you want it to last. Radiators don't just fail randomly; they degrade over time due to corrosion and contamination. Here is how to extend the life of your cooling system:
- Regular Flushes: Every two years or 30,000 miles, flush the system with distilled water to remove sediment and rust particles. This prevents blockages in the tiny tubes inside the radiator.
- Check Levels Monthly: Look at the overflow tank. If the level drops consistently, you have a slow leak. Catching it early prevents catastrophic overheating.
- Inspect Hoses Annually: Rubber hoses harden and crack over time. Squeeze them gently; if they feel brittle or mushy, replace them proactively.
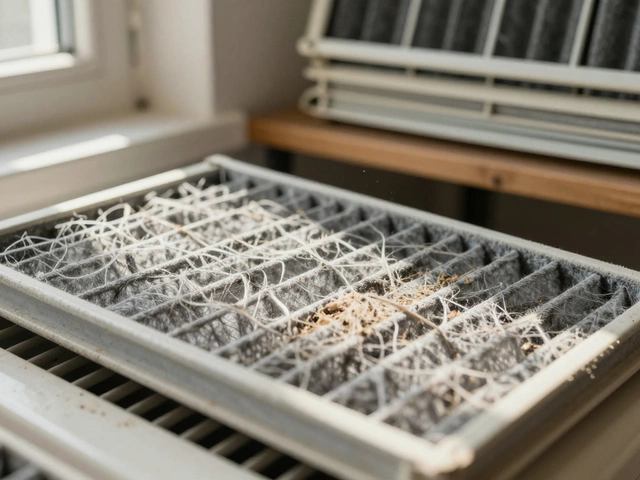
- Keep Fins Clean: Bugs, dirt, and leaves can clog the radiator fins, reducing airflow. Use compressed air or a gentle garden hose spray (from the inside out) to clean them periodically.
Preventative maintenance is always cheaper than emergency repairs. A £20 coolant flush today can save you £500 on a new engine tomorrow.
Conclusion
Replacing a car radiator is a manageable task for the average DIY enthusiast, provided you have the right tools, patience, and attention to detail. It is not the easiest job under the hood, but it is far from impossible. By following the steps outlined above and avoiding common pitfalls like mixing coolants or damaging the condenser, you can save significant money on labor costs.
Remember, the key to success is preparation. Read your vehicle-specific repair manual, gather all your parts beforehand, and take your time with the bleeding process. If you encounter resistance or uncertainty at any point, don't hesitate to seek professional help. Your engine's health is worth the investment.
How long does it take to replace a car radiator?
For a straightforward job on a front-wheel-drive car, expect to spend about 2 to 3 hours. This includes draining the old coolant, removing the old unit, installing the new one, and bleeding the system. More complex vehicles requiring bumper removal can take 4 to 6 hours.
Do I need to change the thermostat when replacing the radiator?
It is highly recommended. Thermostats are inexpensive and wear out over time. Since you already have the cooling system drained, replacing the thermostat is easy and ensures optimal engine temperature regulation.
What happens if I mix different types of coolant?
Mixing incompatible coolants, such as traditional green ethylene glycol with orange OAT coolant, can cause the fluids to gel or form sludge. This blocks the radiator tubes and water pump, leading to rapid overheating and potential engine failure.
Can I drive my car with a leaking radiator?
Only for a very short distance to a safe location or repair shop. Driving with low coolant levels risks severe overheating, which can warp the cylinder head or blow the head gasket, resulting in thousands of pounds in repairs.
How do I know if my radiator needs replacing?
Signs include visible coolant leaks from the tank or seams, constant overheating despite full coolant levels, discolored or rusty coolant, and physical damage to the fins. If your engine runs hotter than usual, have the cooling system pressure tested.