If you’ve ever watched your temperature gauge climb while steam billows from the hood, you know how stressful a bad radiator can be. Paying a mechanic isn’t cheap—parts and labor add up fast. The good news? Swapping out a car radiator isn’t as extreme as rebuilding a transmission or pulling an engine.
Most folks with a bit of patience, a toolbox, and a weekend to spare can change a radiator themselves. Don’t have a fancy garage? No problem. I’ve done this job in my own driveway with nothing but basic hand tools and a jack. The trick is knowing what you’re in for and where things can get messy—literally and figuratively.
Some radiators are right up front and practically pop out after unhooking a few hoses. Others are crammed behind everything and will test your creativity (and patience). Either way, if you can loosen bolts, follow instructions, and stay organized, you’ve got a solid shot at pulling this off without swearing off car repairs forever.
- How Hard Is It Really?
- What You Need Before You Start
- Step-by-Step: Removing the Old Radiator
- Fitting the New Radiator without Drama
- Common Pitfalls and Pro Tips
How Hard Is It Really?
So, just how tough is changing a car radiator? Here’s the honest answer: it depends on your car, your patience, and whether you follow directions. On average, a DIY radiator change takes 2 to 4 hours if you’re not rushing. If you drive a common sedan or pickup, odds are the job is totally doable. But if your car is a turbocharged model, something fancy, or super compact under the hood, expect to add time and maybe a few more knuckle scrapes.
Radiators aren’t hidden away like some car parts. In most vehicles, they’re right up front and easy to spot once you pop the hood. What catches a lot of people off-guard are all the little things attached to the radiator: hoses, transmission fluid coolers, fans, electrical connectors, and sometimes even the front bumper. No two cars are exactly the same, so always check your vehicle’s repair manual or look up a model-specific guide.
You don’t need advanced mechanical skills, but you do need to be careful. You’re working with coolant, which is toxic and slippery. Missing just one hose or clamp can lead to leaks and overheating. If you work patiently, keep your parts organized, and don’t rush, the odds are in your favor.
Let’s highlight how folks usually tackle this project compared to other common work:
| Repair Job | DIY Difficulty | Average Labor Cost (USD) | Average Time Needed |
|---|---|---|---|
| Change radiator | Medium | $300-$450 | 2-4 hours |
| Replace alternator | Medium | $200-$350 | 1-2 hours |
| Replace timing belt | Hard | $500-$900 | 4-6 hours |
| Brake pad replacement | Easy | $100-$250 | 1-2 hours |
Here’s what usually makes or breaks a DIY radiator swap:
- Access—the tighter the engine bay, the more parts you may need to remove first.
- Automatic vs. manual—a lot of automatics have transmission cooler lines attached to the radiator, which adds a step.
- Rusty or stuck fasteners—sometimes the simplest bolts can be the most stubborn.
- Learning curve—if you’ve never drained coolant or taken apart hoses, go slow and take pictures as you go.
If you’re comfortable with a socket set, don’t mind getting a little messy, and have some basic patience, you’ve probably got what it takes to pull this off. If you’re the kind of person who gets stressed wrestling with stuck bolts or following repair videos, it might be worth calling in a buddy or just getting a quote from a shop to keep your sanity intact.
What You Need Before You Start
First things first, you’ve got to have the right stuff on hand before you tear into your car radiator. Nothing kills motivation like realizing you’re elbow-deep in engine bay grime and missing a clamp or coolant. Here’s a straightforward list to get you prepped and keep you out of last-minute auto parts runs.
- Replacement radiator: Make sure it’s the exact fit for your make, model, and engine. Double-check—sometimes the difference between a perfect fit and total frustration is a single connector.
- Fresh coolant: You’ll have to drain the old stuff. Refill with the right coolant for your car. The owner’s manual will give the correct type (usually green, orange, or pink—but don’t guess).
- Basic hand tools: Think sockets, wrenches, screwdrivers. A ratchet set covers most bolts, but sometimes small hose clamps want pliers, too.
- Drain pan: A big one. Old coolant needs to go somewhere, and it’s toxic; don’t let pets or kids near it.
- Work gloves and eye protection: Coolant burns skin and eyes. Safety matters, even in your own driveway.
- Jack and stands (if needed): Some cars give you space up top, but others want you under the car. Don’t trust the car jack alone—always use stands.
- Hose clamps: If the old ones are corroded or stubborn, swap them with new ones. It’s cheap insurance against future leaks.
- Shop rags and trash bags: Spills are nearly impossible to avoid, so have rags ready. Trash bags make clean-up way easier.
Curious how tricky this job can get? Here’s a table breaking down the average radiator replacement time and typical shop costs, based on data from major repair chains in 2024:
| Car Type | DIY Time (Hours) | Shop Time (Hours) | Shop Cost (USD) |
|---|---|---|---|
| Small Sedan | 2-3 | 1.5-2 | $400-$700 |
| Mid-Size SUV | 3-5 | 2-2.5 | $500-$900 |
| Pickup Truck | 4-6 | 2.5-3 | $600-$1,000 |
Those numbers add up fast. Doing it yourself saves serious cash but also makes you responsible for every step. Double check you’ve got what you need—nothing’s worse than realizing the radiator you bought online is just a little off after you’ve already drained everything.
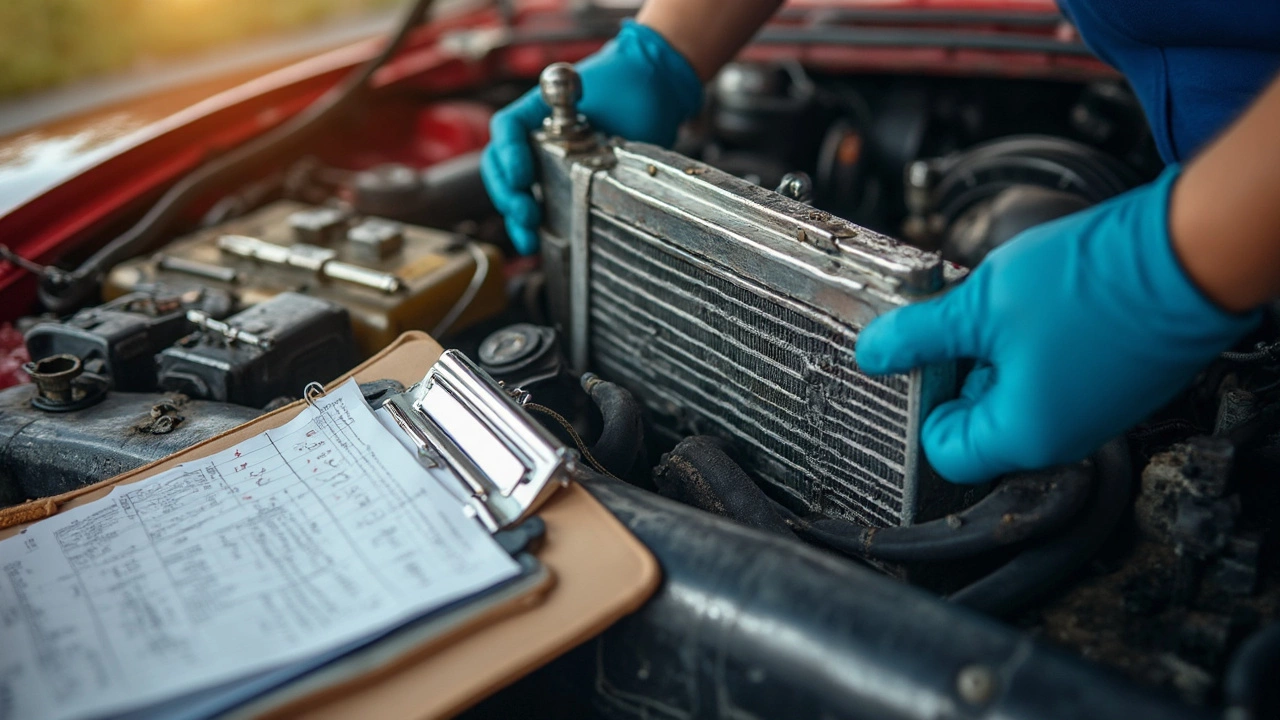
Step-by-Step: Removing the Old Radiator
Changing out your car radiator starts with getting the old one out. This is the messiest part, but if you go step by step, it won’t be worse than a leaky oil change. You’ll want your tools ready and a drain pan or two because coolant makes a surprisingly big puddle. I usually grab a couple of old towels too, just in case.
- Park and Cool Down – Make sure the engine is cool, not just warm. Hot coolant can cause burns that’ll ruin your week. Park on a flat surface and pop the hood.
- Unhook the Battery – Radios lose presets but it’s safer. Prevents accidental shorts, especially important if you drop a wrench near anything electrical.
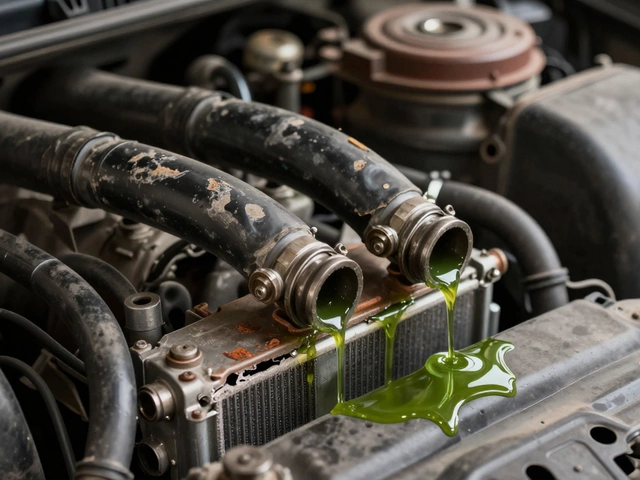
- Drain the Coolant – Find the radiator drain plug (usually near the bottom) and open it. Stick a drain pan under and let it flow. Loosen the radiator cap for faster draining. Pro tip: Save the coolant if it’s clean; you’ll need some when filling up the new radiator. But if it’s brown or sludgy, just get rid of it safely.
- Remove Hoses – Use pliers or a screwdriver to loosen the hose clamps (top and bottom) and twist the hoses off. Hoses stuck? Gently wiggle—don’t stab with a screwdriver or you’ll be shopping for new hoses.
- Disconnect Transmission Cooler Lines – If your car’s automatic, you probably have these small metal lines on one side of the radiator. Have rags handy—they’ll drip. Plug the lines so junk doesn’t get in.
- Unplug the Fan and Sensor Connections – Radiators often have electric fans and sometimes a temp sensor plugged in. Snap photos on your phone so you remember where they go later.
- Remove Mounting Bolts – Find and remove the bolts or brackets holding the radiator. Most are on the top, a few are on side supports.
- Lift Out the Radiator – Now you just slide the radiator out (careful not to bang it against other engine parts). It may need a little wiggling. Sometimes, you’ll need to move the fan shroud out of the way first – that’s usually just a couple more screws.
Look, some cars throw you a curveball—extra lines, weird brackets, hidden screws. If you run into anything weird, a quick search for your specific car and model can save you a lot of time.
| Step | Average Time (Minutes) | Trickiest Part |
|---|---|---|
| Drain Coolant | 10-20 | Not spilling everywhere |
| Remove Hoses & Lines | 10-15 | Stuck hoses |
| Unplug Connections | 5 | Remembering what goes where |
| Remove Bolts & Lift Out | 10-20 | Maneuvering radiator free |
Tip: Never toss coolant down the drain, and keep it away from pets—it's poisonous and, weirdly, kind of sweet-tasting to animals. Most auto parts stores will take your old coolant, usually for free.
Fitting the New Radiator without Drama
After dragging out the old radiator and cleaning up the mess, the next move is getting that shiny new part in place. Don’t just shove it in and hope for the best—alignment and a tight fit are everything if you want solid cooling down the road.
First off, check that the replacement radiator matches your car’s specs right down to the hose connections and mounting points. Aftermarket radiators can look almost identical but throw you a curveball with tiny differences. Here’s a quick list to double check before you even touch the engine bay:
- Hose fittings and size
- Mounting tabs and brackets match up
- Sensor ports line up (some models have them, some don’t)
- Radiator cap location
Now, actually slotting the radiator in isn’t hard if you took photos or marked things as you took the old one out. Slide the new radiator into place carefully so you don’t mess up the fins—those things bend if you just jam it in. Line up the mounting holes and hand-tighten the bolts first so you still have wiggle room to adjust. Once everything lines up, go ahead and tighten the mounts to the manufacturer’s specs.
Next up: hoses. Attach the upper and lower radiator hoses and any thermal sensor plugs. Make sure the hose clamps are secure, because a blown-off hose means coolant everywhere. Reconnect the transmission cooler lines if you’ve got an automatic—this step trips up a lot of folks. Here’s a quick tip: replace old clamps with new ones if they’re rusted or stretched out. It beats hunting leaks later.
Before filling with antifreeze, check that the radiator drain plug is closed. A lot of people get excited and forget, wasting a bunch of fresh coolant on their driveway. Fill the radiator and reservoir with the exact coolant mix your car calls for. If you’re not sure about the ratio, check your owner’s manual. Most cars are either 50/50 or 60/40, but don’t guess—wrong mix equals weak cooling and potential damage.
Here’s a fast breakdown of typical steps and what folks often miss:
- Line up and bolt in the radiator.
- Reconnect hoses—triple check clamps.
- Install the fan shroud and electric fan (if removed).
- Plug in any sensors and wiring.
- Reconnect and tighten transmission cooler lines if present.
- Fill with the right mix of coolant.
- Run the engine with the heat on full blast. Top off coolant as air bubbles out.
Car radiator swaps can go sideways if you rush the bleed process. Trapped air in the system can keep the heater from working or spike the temp gauge. Look for the bleed screw on the top hose or radiator—open it and wait for a steady stream of coolant. A funnel with a snug fit in the filler neck helps keep things tidy.
Wondering if you missed something? Here are two columns of easy-to-forget steps and why they matter:
| Don’t Forget | Because... |
|---|---|
| New radiator cap | Old caps leak and wreck pressure balance |
| Fan reinstallation | No fan equals instant overheating in traffic |
| Check leaks before road test | Catching drips now saves headaches later |
| Dispose of old coolant safely | Coolant is toxic for pets and environment |
Once everything is tight and you’ve run it to temp without leaks or drips, you’re golden. Double check your coolant level the next day, since air can still burp out on the first real drive. That’s it—your car’s ready and so is your confidence in tackling hands-on maintenance.

Common Pitfalls and Pro Tips
Most rookie mistakes with car radiator replacement have more to do with rushing or skipping steps than with the actual work. Here’s where things usually go sideways—and what you can do to avoid headaches down the line.
- Forgetting to disconnect the battery: This is a must. You don’t want errant sparks near metal parts and coolant. Take thirty seconds and pull the negative cable first.
- Mixing up hoses: Radiator hoses can look a lot alike, and mixing up the upper and lower hoses can kill your day. Snap a quick photo before you start pulling anything off. Trust me, it comes in handy if a kid (like Jareth) distracts you halfway through the job.
- Not draining coolant properly: Spilled coolant isn’t just messy; it’s toxic for pets and wildlife. Put a drip pan under the radiator before loosening anything. If you plan to reuse the coolant, make sure your pan is clean.
- Over-tightening fittings: It might feel good to crank bolts down, but radiators (especially plastic tank ones) are easy to crack. Follow your car’s torque specs or go snug, not herculean.
- Forgetting to "burp" the cooling system: Air pockets trapped inside make your engine run hot. After refilling coolant, always run the engine with the heater set to max and leave the radiator cap off until you see all the bubbles work their way out.
Worth remembering: If you don’t flush out debris or gunk when swapping the radiator, you can clog the new one and end up right back where you started. Flush the whole system with clean water until it runs clear.
| DIY | Shop | |
|---|---|---|
| Estimated Time | 2-4 hours | 2-3 hours |
| Parts Cost (average sedan) | $90-$250 | $90-$250 |
| Labor Cost | Free | $300-$600 |
One last thing: always double-check for leaks before calling it done. Let the engine run, watch for drips, and watch your temp gauge. Nobody wants to pull a car radiator twice because of a missed clamp or bad seal.


