DIY Radiator Replacement Cost Calculator
Enter your estimated costs below to see how much you could save by doing it yourself.
Enter values and click calculate to see your potential savings.
| DIY Cost: | £0 |
| Garage Total: | £0 |
| Dealer Total: | £0 |
| Savings vs Garage: | £0 |
| Savings vs Dealer: | £0 |
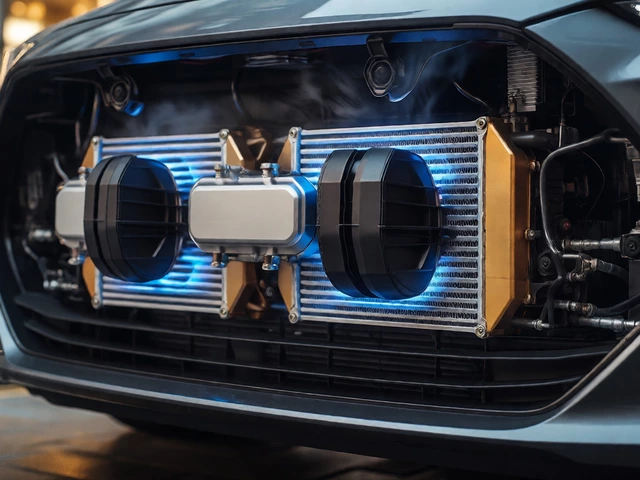
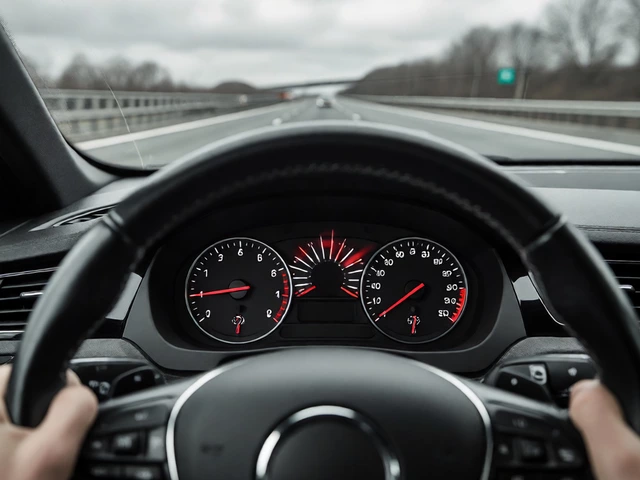
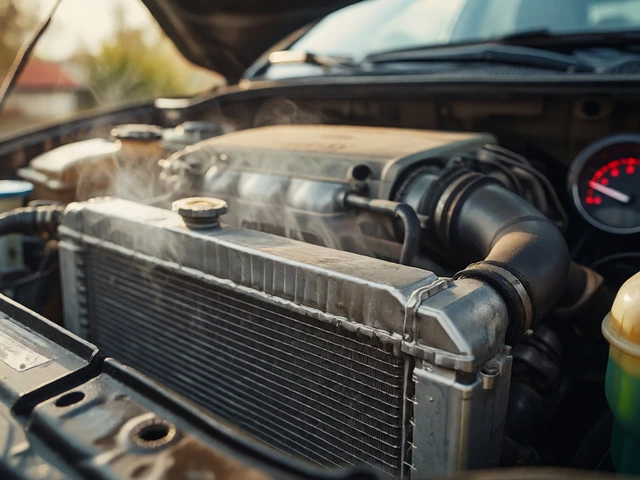
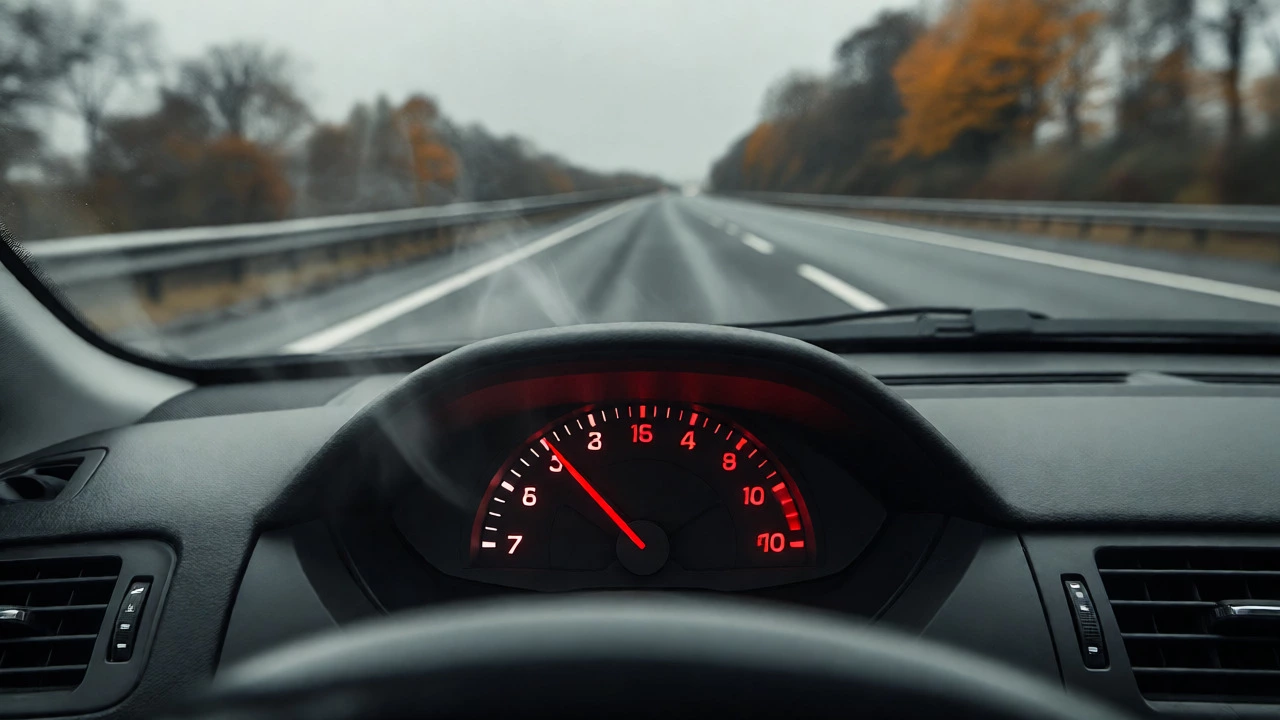
Imagine this: you’re driving down the M60 on a warm October day, and suddenly the temperature gauge starts creeping toward the red zone. Steam hisses from under the bonnet. Your heart sinks because you know what that likely means-a failed radiator is a heat exchanger used to transfer thermal energy from one medium to another for the purpose of cooling and heating. In cars, it cools the engine coolant by removing excess heat from the engine and dissipating it into the surrounding air. The immediate thought? "I can't afford a £300+ bill at the garage." But here’s the good news: replacing a radiator isn’t rocket science. If you have basic mechanical skills and the right tools, you can absolutely do it yourself. It saves money, gives you a sense of accomplishment, and ensures you know exactly what parts went into your car.
The Reality Check: Is This Job For You?
Before you grab your spanner, let’s be honest about whether you should tackle this. Changing a radiator falls into the "intermediate" category of DIY repairs. It’s not as simple as changing an oil filter, but it’s not as complex as rebuilding a gearbox. You need to be comfortable draining fluids, handling heavy components, and working in tight spaces.
You should consider doing this yourself if:
- You have a safe place to work (like a driveway or garage) where you can jack up the car safely.
- You own or can borrow a floor jack, axle stands, and a set of metric sockets/wrenches.
- You are willing to dispose of old coolant properly (it’s toxic to pets and wildlife).
- You don’t mind getting your hands dirty with oily, greenish-blue fluid.
If you’ve never bled a cooling system before, watch a few YouTube tutorials specific to your car model first. Every car has its quirks-some radiators slide out easily, while others require removing the front bumper or condenser fan assembly.
Why Do Radiators Fail?
Radiators usually die for one of three reasons: corrosion, physical damage, or clogging. In the UK, road salt during winter is a major killer. It gets trapped in the fins and causes rust holes that eventually leak. Another common issue is impact damage from stones kicked up by trucks on motorways. Finally, if you haven’t flushed your coolant in years, internal deposits can block the flow, causing the engine to overheat even if the radiator looks fine externally.
Knowing why yours failed helps you prevent it next time. If it was corrosion, check your other hoses and clamps. If it was impact, maybe install a mesh guard behind the new unit.
Tools and Parts You’ll Need
Don’t start until you have everything ready. Running to the shop halfway through with a dripping engine is stressful. Here’s your shopping list:
| Item | Why You Need It | Estimated Cost (UK) |
|---|---|---|
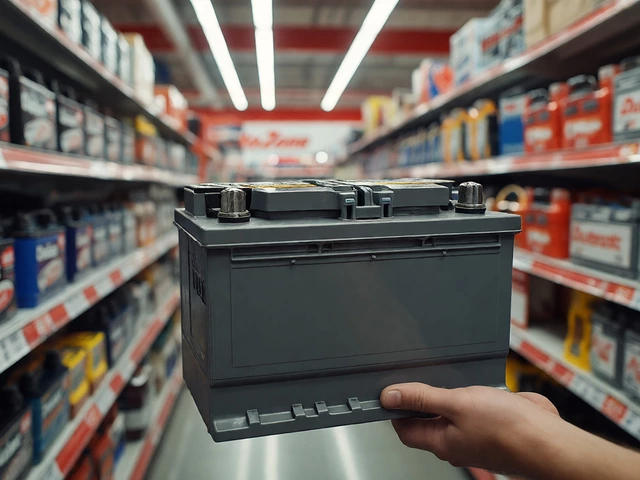
| New Radiator | The main part. Ensure it matches your VIN or registration. | £40 - £150 |
| Coolant/Antifreeze | Concentrate or pre-mixed. Never use plain water long-term. | £10 - £20 |
| Drain Pan | A large container (5-8 litres) to catch old coolant. | £5 - £10 |
| Hose Clamps/Pliers | To release spring clips or screw clamps on hoses. | £10 (if you don't own them) |
| Screwdrivers & Sockets | Usually 8mm, 10mm, 12mm, plus Phillips/Flathead. | Varies |
| Gloves & Goggles | Coolant stains skin and hurts eyes. | £5 |
Step-by-Step: How to Replace the Radiator
Here is the general process. Remember, consult your vehicle’s manual for specific torque specs and drain plug locations.
1. Drain the Old Coolant
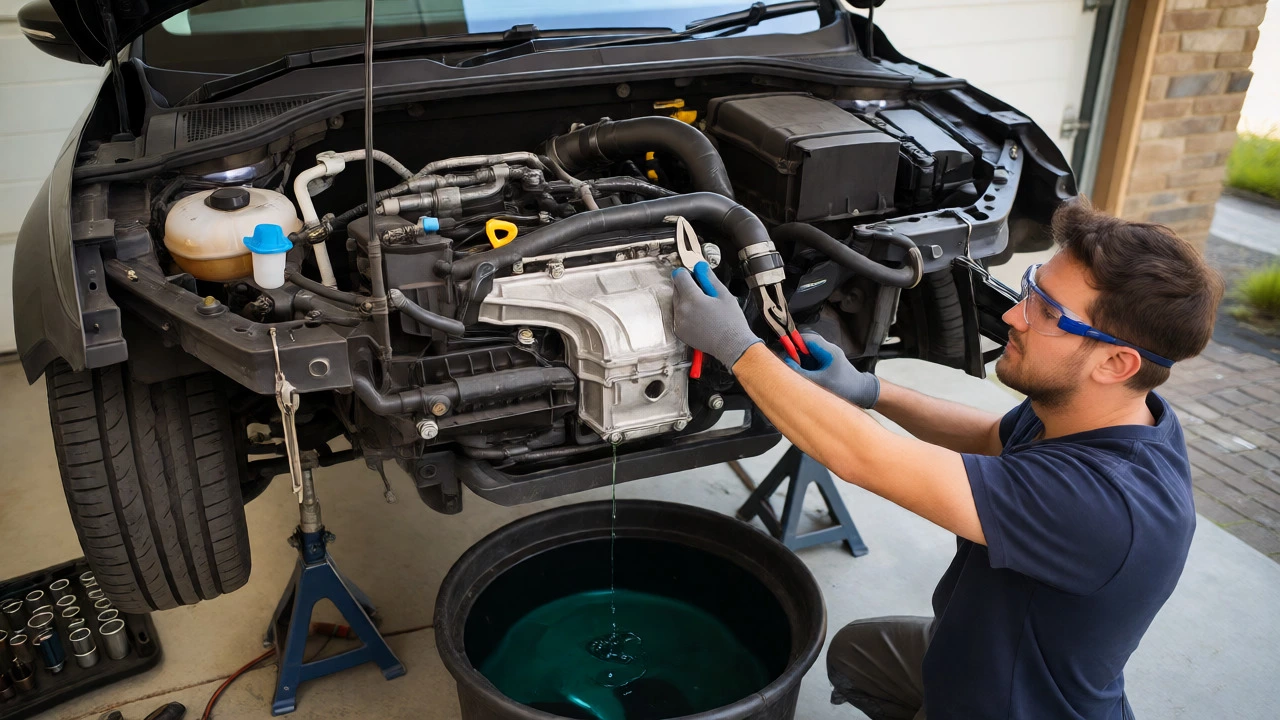
Start with a cold engine. Hot coolant sprays everywhere and burns skin. Locate the drain plug at the bottom of the radiator (sometimes there’s one on the engine block too). Place your drain pan underneath. Unscrew the plug carefully. Let it drain completely. This takes 5-10 minutes. Once empty, replace the plug if you’re reusing it, though many mechanics recommend new plugs or washers to prevent future leaks.
2. Disconnect Hoses and Electrical Connections
Now, disconnect the upper and lower radiator hoses. Use pliers to squeeze spring-type clamps or unscrew worm-drive clamps. Pull the hoses off gently-they might be stuck due to age. Have a rag ready for residual drips. Next, unplug any electrical connectors attached to the radiator fans or transmission cooler lines (if automatic). Label them with tape if you’re unsure which goes where.
3. Remove Obstructions
This is the tricky part. On many modern cars, the radiator sits behind the grille and headlights. You may need to remove plastic splash guards under the car, unbolt the fan shroud, or even take off the front bumper. Take photos as you go so you remember how bolts and clips were arranged. Keep all screws in a cup-losing one tiny clip can mean a trip back to the store.
4. Extract the Old Radiator
Once free, tilt the radiator slightly to clear the mounting tabs. Lift it out. Be careful-it’s heavier than it looks and sharp fins can cut you. Set it aside. Inspect the area behind it for debris like leaves, bugs, or dirt. Clean it out with compressed air or a soft brush. Good airflow is critical for the new unit.
5. Install the New Radiator
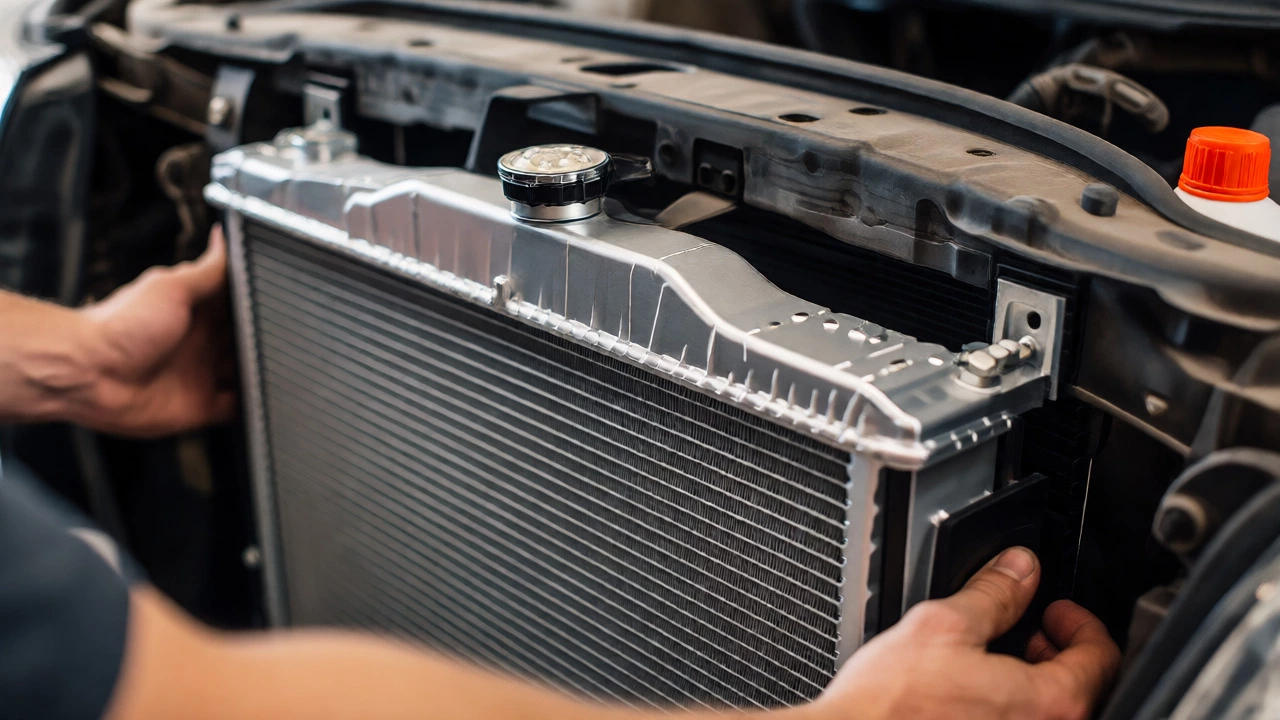
Position the new radiator into the mounts. Reattach the fan shroud and any brackets. Don’t tighten bolts fully yet; wait until everything is aligned. Reconnect the hoses and electrical plugs. Double-check that hose ends are pushed all the way onto the necks. Loose hoses cause leaks.
6. Refill and Bleed the System
This step makes or breaks the job. Fill the radiator and expansion tank with fresh coolant. Start the engine with the cap off. Let it idle. As the thermostat opens, air bubbles will escape. Top up the coolant as the level drops. Some cars have bleed screws on the heater matrix or engine block-open these until coolant flows without bubbles, then close them. Run the heater inside the car on full blast to help purge air from the heater core.
Common Pitfalls to Avoid
Forgetting to bleed the system: Air pockets act like insulation, preventing coolant from reaching hot spots. Your engine will overheat even with a new radiator. Patience here is key.
Using tap water: Tap water contains minerals that cause scale buildup. Always use proper antifreeze/coolant mix. In Manchester’s hard water areas, distilled water mixed with concentrate is safer than straight tap water.
Overtightening bolts: Aluminum threads strip easily. Snug is enough. If you force it, you’ll crack the mounting tab.
Ignoring the thermostat: If your old radiator failed due to overheating, the thermostat might be stuck closed. Replacing both at once costs little extra and prevents repeat failures.
Cost Breakdown: DIY vs. Mechanic
Let’s talk numbers. A new radiator for a Ford Focus or VW Golf typically costs between £40 and £80 online. Add £15 for coolant and miscellaneous clamps. Total DIY cost: roughly £60-£100.
A local independent garage might charge £150-£200 for the part plus £100-£150 for labour. Dealerships can charge upwards of £400 total. By doing it yourself, you save £200-£300. That’s enough for a nice weekend away or several months of fuel savings.
Frequently Asked Questions
How long does it take to change a radiator?
For a beginner, expect 2-4 hours. If you encounter seized bolts or need to remove the bumper, it could take longer. Experienced DIYers often finish in under 90 minutes.
Can I drive my car with a leaking radiator?
Only for very short distances to a repair shop. Monitor the temperature gauge closely. If it climbs above normal, stop immediately. Continuing risks warping the cylinder head, which turns a £100 job into a £1,000+ repair.
Do I need to replace the radiator cap too?
It’s a cheap insurance policy. Caps lose their seal over time, leading to pressure loss and boiling coolant. Since they cost only £5-£10, replace it while you have the system open.
What colour coolant should I use?
Check your owner’s manual. Common types include Green (IAT), Orange/Pink (OAT/HOAT), and Blue/Green (Si-OAT). Mixing incompatible types can cause gelling. When in doubt, flush the system thoroughly and use the manufacturer-specified type.
Is it worth fixing a cracked plastic tank?
Sometimes. There are epoxy kits and soldering irons designed for plastic tanks. However, given how cheap new radiators are now, replacement is usually more reliable and less frustrating than attempting a temporary fix.