Your car suddenly makes a weird noise when you hit the brakes. Maybe it shakes a little. Could be nothing, but maybe it’s your rotors waving the white flag. A set of reliable rotors keeps you and your passengers from slamming into the guy in front of you—all while working quietly behind the scenes. But nobody tells you when they’ve had enough. Unless you know what to look for, you could be risking your safety or shelling out cash for repairs you don’t really need. Let’s pull back the curtain on brake rotors so you know exactly when it’s time for a new set.
Understanding Brake Rotors: What Do They Really Do?
Not everyone thinks about their brake rotors when they jump in the car, but these metal discs are a huge part of stopping safely. Brake rotors sit behind each wheel and work with your brake pads. Press the pedal, and the brake pads clamp down on the spinning rotor, slowing you to a stop using friction. Most cars these days use vented rotors at the front because they need to deal with more heat and solid rotors at the back, where things aren’t quite so hectic. Bigger rides—think trucks and SUVs—often have even beefier rotors to match the weight they’re hauling.
Rotors are usually made of cast iron. Some performance cars use fancy materials like carbon-ceramic, but unless you’re driving something straight out of a James Bond movie, you’re probably sticking with iron. Over time, this workhorse metal deals with a whole lot of heat. Even a chill drive in the city can push rotor temps past 400°F (about 200°C). Slam on the brakes hard from highway speeds and you’re looking at something closer to 1,000°F (540°C). That’s hotter than your typical pizza oven. All this heat means rotors are destined to wear out—it’s not a question of “if,” but “when.”
Most companies say rotors can last anywhere from 30,000 to 70,000 miles, but it’s honestly more about your driving style and conditions. City commuters who encounter stop-and-go traffic every day tend to toast their rotors sooner than someone who does mostly highway runs. And if you’re the kind of person who rides the brakes down every hill? Add yourself to the short-listers for new rotors.
The Classic Signs Your Rotors Are Toast
It’s easy to ignore small changes in your car’s braking—until things get weird. So, what are the unmistakable signals your rotors are done for?
- Vibration or pulsation when braking: This isn’t your phone buzzing in your pocket—it’s the whole car, or sometimes just the steering wheel, shaking when you slow down. Warped rotors are usually the culprit, and you can often feel it most when slowing from highway speeds.
- Squealing or grinding noises: Hearing a squeal or grind that doesn’t quit, even after a few stops? That’s sometimes the sound of metal-on-metal, often thanks to either a deeply grooved rotor or brake pads worn down to the metal.
- Visible grooves or scoring: Peek through your wheel spokes after a drive, and check the rotor surface. You shouldn’t see deep cuts, scoring, or rusty patches. If you run your finger on the edge (when the car’s cold and safe!) and feel a step or ridge, it means your rotors have been chewed up.
- Longer stopping distances: If it takes more pedal pressure to slow down or your car just feels sluggish on the brakes, your rotors may not be gripping the pads like they should. This is less obvious unless you really know your car, but it’s a sign not to ignore.
- Warning light on the dash: While your brake warning light might just mean low fluid or worn pads, it can sometimes hint at a rotor issue if it comes along with the other symptoms above.
Sometimes, it’s not the rotors at all—it could just be bad brake pads or even tires. But if you notice two or more of these clues, don’t wait around. Ignoring them can ruin your pads, eat through your wallet, and even set the stage for a brake failure that nobody wants.
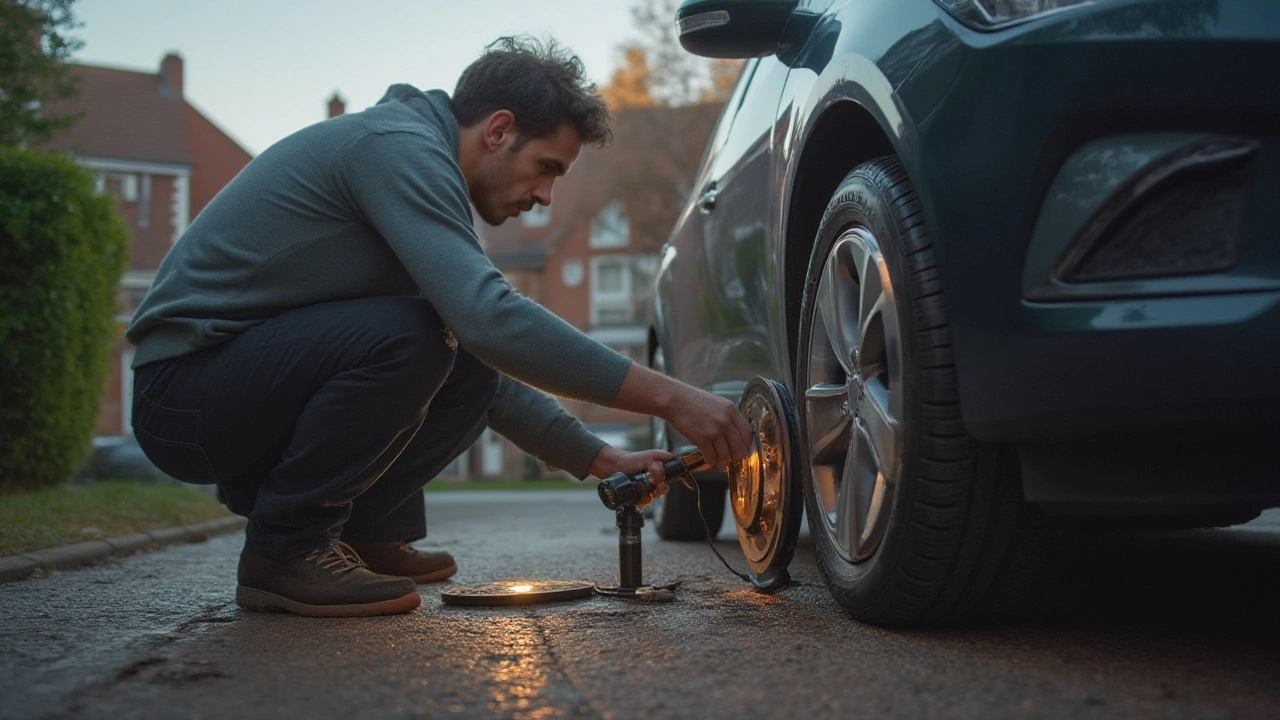
How to Check Rotors at Home: Easy Steps with No Fancy Tools
You don’t need a shop full of gear or a mechanic buddy on speed dial to spot rotor trouble. Here’s how most drivers can do a basic check at home:
- Park on a level surface and engage the parking brake. Make sure the engine is off, and the car’s in gear or “park.”
- If you’re feeling brave, remove a wheel. (Loosen the lug nuts with the car on the ground, jack up the car safely with a jack and use a jack stand to hold it.)
- Check the rotor for thickness. Manufacturers stamp the minimum safe thickness on the rotor’s edge. Use a micrometer or caliper (cheap on Amazon or at local stores). If the rotor is below this number, it’s definitely new rotor time.
- Look and feel for grooves or scoring. If you see deep, uneven grooves, the rotor’s probably done for. Some minor marks happen with normal use, but if you can catch your fingernail in a groove, it’s too deep.
- Check for blue spots. Overheated rotors sometimes show blue or purple coloring—this means the rotor’s gotten really hot and may be warped or losing strength.
- Spin the rotor by hand. It should move smoothly without a noticeably wobbly “out of round” feeling. If you feel odd resistance, hear scraping, or see the rotor is warped, replacement is needed.
- If you don’t have a way to remove the wheels, you can still shine a flashlight through the spokes to spot obvious damage or scoring.
Don’t want to mess with all that? Shops often check your brakes free or for a low fee, especially if you’re already getting your oil changed.
Life Expectancy, Replacement Tips, and When Not to Replace
If you’re thinking, “How long should a rotor really last?”—there’s no fixed answer. Like I said, city drivers burn out rotors way faster. On average, figure most rotors tap out by 50,000 miles. But if you’re always braking last second, towing, or have sloppy calipers, expect less than that. Fatal mistakes? Driving with worn pads so long that the backing plate grinds a deep groove in the rotor. That’s an instant ticket to new rotors, no questions asked.
When replacing rotors, you’ve got a few choices:
- Replace only the rotors: If the pads are new and the issue was warped or damaged rotors (not thin or damaged pads) you might get away with just changing rotors.
- Replace both pads and rotors: This is often the smart move. New pads on old rotors can wear unevenly, and new rotors with worn pads can cause noise. Most shops will recommend replacing both unless you're positive the pads are basically brand new.
- Resurface rotors: If your rotors aren’t too thin or deeply grooved, a shop can “turn” or resurface them. This skims a clean, flat surface on the rotor. It’s a budget-friendly move, but only works if there’s enough metal left above the manufacturer’s minimum spec.
And don’t get sold on the “drilled and slotted” rotors unless you drive really hard, track your car, or just want a cool look. For daily driving, plain cast rotors do a solid job and cost less.
Here’s a look at typical rotor lifespans, costs, and key stats in a quick-reference table:
| Rotor Type | Average Lifespan (miles) | Replacement Cost (per axle, US$) | Material |
|---|---|---|---|
| Standard Cast Iron | 30,000–70,000 | 120–350 | Cast iron |
| Vented/Drilled/Slotted | 40,000–60,000 | 200–500 | Cast iron/composite |
| Carbon Ceramic | 70,000–100,000+ | 800–2,500 | Carbon-ceramic |
Got a car that rarely leaves the garage? Even if the rotors don’t reach the miles, they might rust or corrode—especially in damp climates. Rusty rotors lose braking power fast and aren’t safe.
One last thing: Don’t let a shop upsell you with a horror story every time you need pads. Some light surface rouging is normal and doesn’t always mean a new rotor is a must. Get a second opinion if you’re not sure.