Brake Job Readiness & Checklist Tool
Check off the tools you have. You must have all of these before starting for a safe installation.
Gather all tools before proceeding
Step Detail:
Select a step to view details.
The short answer is yes, you can absolutely replace brake pads yourself. It's one of the most common DIY tasks for car owners. You don't need to be a master mechanic to get it done, but you do need the right tools and a healthy respect for the machinery. If you can turn a wrench and follow a set of steps, you can save a significant amount of money and gain a lot of confidence in how your vehicle actually works.
Quick Summary for Your Brake Job
- Skill Level: Beginner to Intermediate.
- Time Required: 2 to 4 hours for a full set (both front wheels).
- Key Tools: Jack, jack stands, lug wrench, socket set, C-clamp or brake press.
- Safety First: Never work on a car supported only by a hydraulic jack; always use stands.
- Core Goal: Swap old, worn-out friction material for new pads to ensure safe stopping power.
Understanding the Brake System
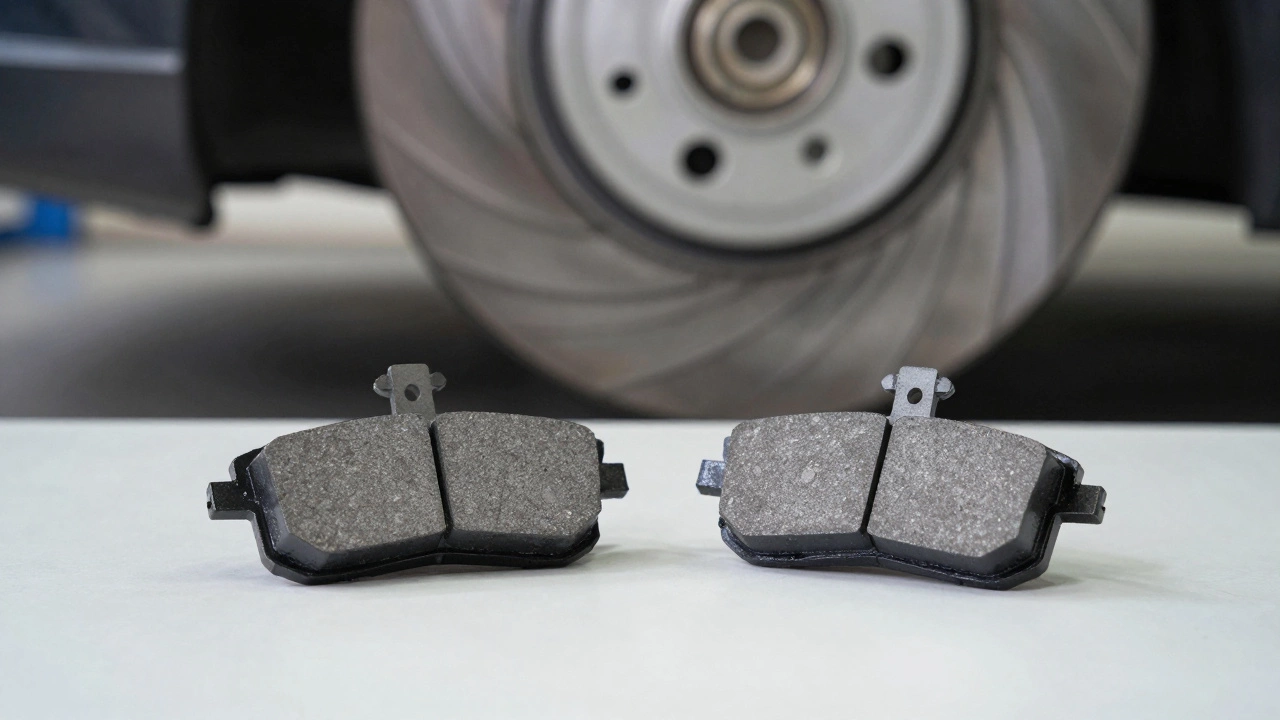
Before you pick up a tool, it helps to know what you're actually touching. Your car uses a hydraulic system to stop. When you hit the pedal, fluid pushes a piston in the caliper, which squeezes the brake pads against a spinning disc. Brake Pads are the sacrificial friction components that press against the rotor to create the heat and friction necessary to stop the vehicle. They are usually made of semi-metallic, ceramic, or organic materials, depending on whether you want more durability or less noise.
The Brake Caliper is the clamp-like device that holds the pads. It houses the piston and the fluid lines. If the caliper is seized, you won't be able to move the piston back, and you'll need to replace the whole unit rather than just the pads.
Then there is the Brake Rotor, also known as the disc. This is the heavy metal circle that spins with the wheel. If your rotors have deep grooves or a "lip" around the edge, they might need to be resurfaced or replaced. Putting new pads on bad rotors is like putting a fresh coat of paint on a rotting wall-it looks okay for a week, but the underlying problem remains.
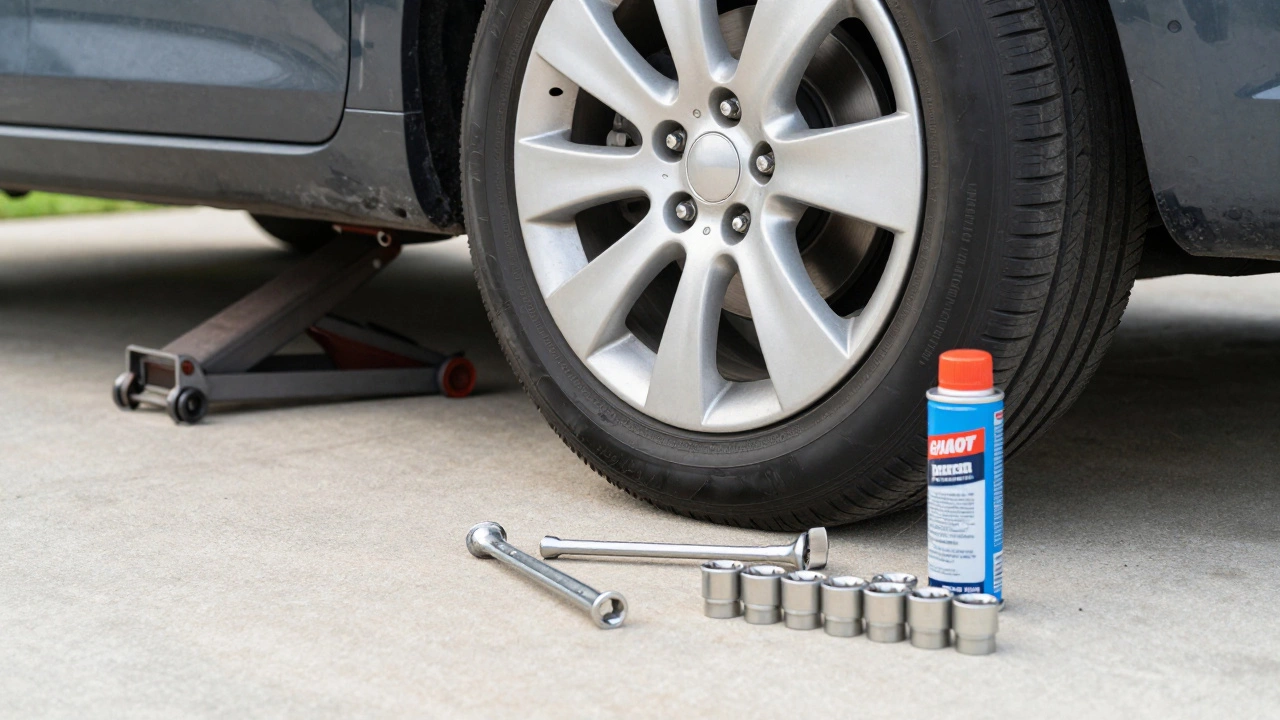
The Essential Tool Kit
You can't do this with a screwdriver and a prayer. You need a specific set of gear to do the job safely and correctly. If you're missing these, a trip to the local hardware store is your first step.
| Tool | Purpose | Pro Tip |
|---|---|---|
| Floor Jack & Stands | Lifts the car and holds it securely | Never trust a jack alone; use heavy-duty stands |
| Lug Wrench | Removes the wheel nuts | Break the nuts loose before lifting the car |
| Socket Set / Wrenches | Removes caliper bolts | Use a torque wrench for the final tighten |
| C-clamp or Brake Press | Pushes the piston back into the caliper | Apply steady pressure; don't hammer it |
| Brake Cleaner | Removes grease and dust | Spray the rotors before installing new pads |
Step-by-Step Installation Guide
Ready to get your hands dirty? Follow these steps carefully. If something feels "stuck" or doesn't look right, stop and double-check your manual. Forcing a bolt can lead to a snapped stud, which turns a 2-hour job into a 2-day nightmare.
- Secure the Vehicle: Park on a flat surface. Loosen the lug nuts while the car is on the ground. Lift the car using your jack and immediately slide Jack Stands under the frame. Shake the car slightly to make sure it's rock solid before you get under it.
- Remove the Wheel: Unscrew the lug nuts completely and pull the wheel off. Set it aside so it doesn't roll into your workspace.
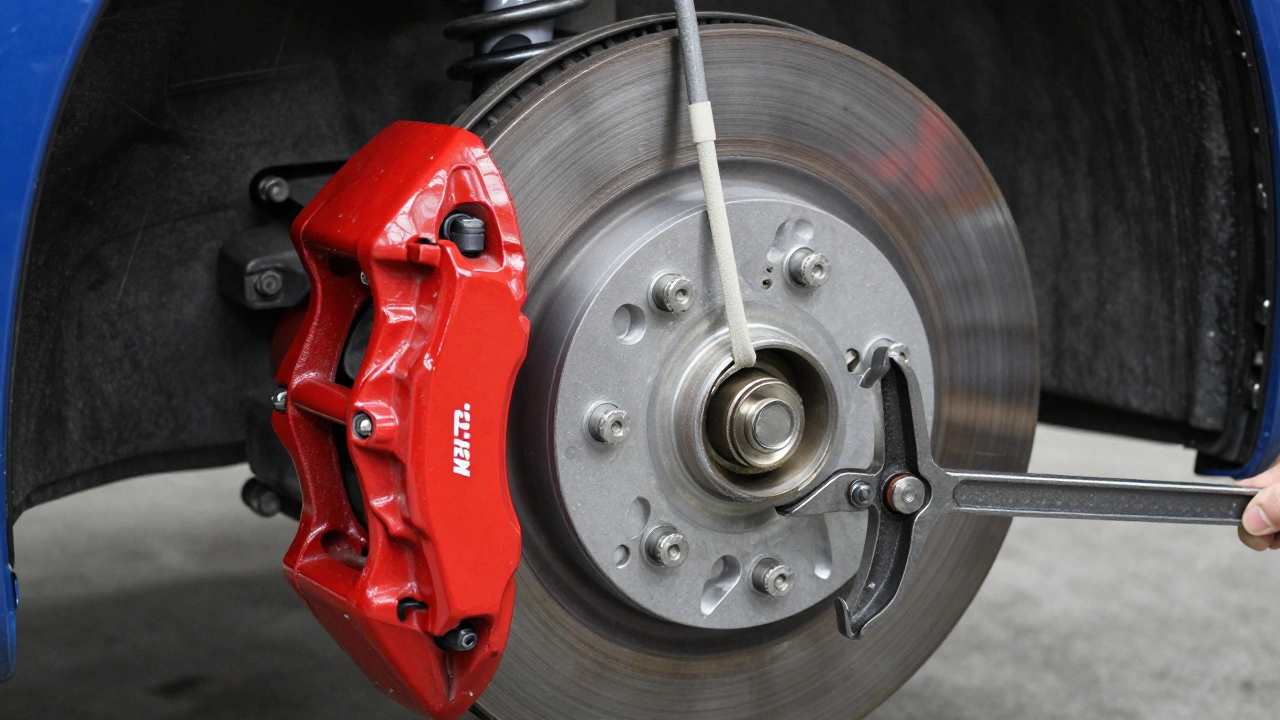
- Open the Caliper: Locate the two bolts holding the caliper to the bracket. Unscrew them and carefully pull the caliper off the rotor. Crucial: Do not let the caliper hang by the rubber brake hose. Use a bungee cord or a piece of wire to hang it from the suspension spring. If the hose stretches or kinks, you've just created a dangerous leak.
- Swap the Pads: Pop out the old brake pads. Note how they were positioned and check the Brake Hardware (the small metal clips). If the clips are rusted or bent, replace them. This prevents the pads from sticking, which causes uneven wear.
- Reset the Piston: This is where the C-clamp comes in. Your new pads are thicker than the old ones, so there's no room for them. Place an old pad over the piston and use the clamp to slowly push the piston back into the caliper housing. This creates the space needed for the new hardware.
- Install New Pads: Slide the new pads into the bracket. Make sure they are seated flush against the clips. Slide the caliper back over the pads and tighten the bolts. Don't over-tighten them to the point of stripping the threads; use the manufacturer's torque specs if you have them.
- Final Assembly: Put the wheel back on, tighten the lug nuts by hand, lower the car, and then do a final tighten with the wrench in a star pattern.
The Most Important Final Step: Pumping the Brakes
Before you put the car in gear and drive away, you must do this. With the engine off, pump the brake pedal several times. You'll notice the pedal feels "mushy" for the first few presses and then suddenly becomes firm. This is the piston moving out to meet the new pads. If you skip this, the first time you hit the brakes on the road, the pedal will go straight to the floor, and you won't stop in time. This is the most common mistake beginners make.
Common Pitfalls and How to Avoid Them
Even with a guide, things can go sideways. Here are a few scenarios I've seen happen and how to handle them.
The Squeal Returns Immediately: If your new pads are screaming, you likely forgot to clean the rotors. Brake rotors develop a layer of oxidation and grease. Use a dedicated brake cleaner spray to wipe them down before installation. Also, check if your pads came with «anti-squeal» paste; applying a tiny bit to the back of the pad (never on the friction surface!) can stop vibration noise.
The Piston Won't Budge: If the C-clamp won't push the piston back, your caliper might be seized. This happens when moisture gets into the fluid and rusts the internal cylinder. If this happens, stop. You need a new Brake Caliper. Trying to force it can rupture the seal, leading to total brake failure.
Uneven Wear: If you notice one pad is way thinner than the other on the same wheel, you have a mechanical failure in the caliper slide pins. These pins need to be lubricated with high-temp silicone grease. If they're dry, the caliper won't slide evenly, and your pads will wear out in a matter of weeks.
When to Call a Professional
While replacing pads is a great entry point into car repair, some jobs are too risky for a novice. You should head to a shop if:
- You see a leak: If brake fluid is dripping from the lines or the caliper, you have a hydraulic failure. This requires professional bleeding of the system.
- The Pedal is Spongy: If the pedal feels soft even after pumping, you might have air in the Brake Master Cylinder. Air bubbles prevent the system from building pressure.
- Severe Rotor Warping: If your car shakes violently when braking, your rotors are warped. Replacing them requires more heavy lifting and potentially a more complex installation.
How often should I replace my brake pads?
There is no one-size-fits-all answer because it depends on your driving style. City drivers who stop and go constantly will wear them out faster than highway drivers. Generally, pads last between 25,000 and 65,000 miles. If you hear a metallic scraping sound or see your brake warning light, it's time to check them immediately.
Can I just replace the pads on one wheel?
Absolutely not. You must always replace brake pads in pairs (both fronts or both rears). If you put new pads on one side and leave old ones on the other, the car will pull to one side during braking, which can cause you to lose control or spin out in an emergency.
Should I always replace the rotors too?
Not necessarily. If the rotors are smooth and within the manufacturer's thickness specifications, you can just swap the pads. However, if you feel a pulsation in the pedal or see deep scoring (grooves) on the disc, you should either replace them or have them "turned" (resurfaced) at a machine shop.
What is the difference between ceramic and semi-metallic pads?
Ceramic pads are quieter, produce less dust, and last longer, but they aren't as effective for extremely high-heat scenarios (like heavy towing). Semi-metallic pads offer a stronger "bite" and handle heat better, but they are noisier and wear down the rotors faster.
Is it dangerous to do my own brakes?
It can be if you are careless. The two biggest risks are the car falling off the jack (which is why you use stands) and neglecting to pump the brakes before driving. If you follow the safety protocols and double-check your bolt tightness, it is a very safe and standard maintenance task.
Next Steps for Your Car
Once you've mastered the brake pads, you might want to look at other parts of the stopping system. Checking your brake fluid level is a great next step; if the fluid is dark brown or black, it's time for a flush. You could also investigate your brake lines for any signs of corrosion or leaks. If you're feeling bold, learning how to rotate your tires will help your new brake pads wear evenly and extend the life of your rubber.