Brake Pad Replacement Cost Calculator
Calculate Your Brake Pad Replacement Costs
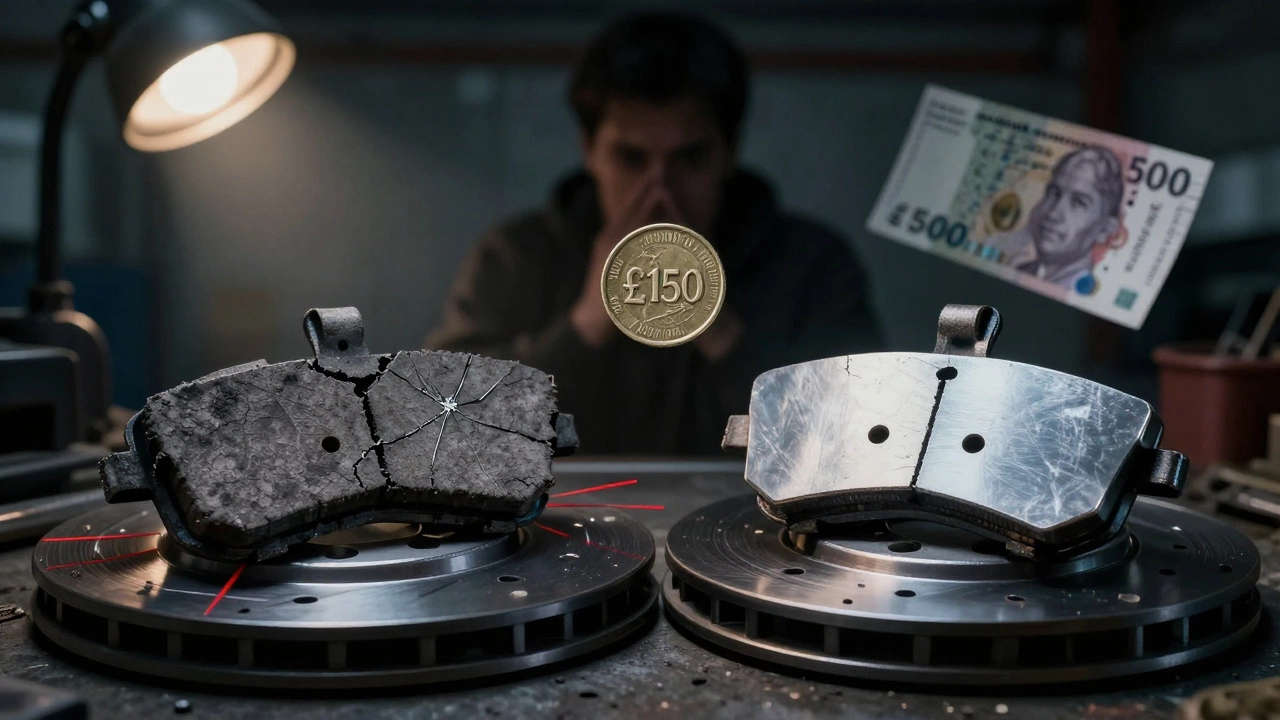
Cost Comparison
Includes labour and parts
Only parts required
Replacing brake pads yourself sounds like a smart way to save money. But is it really cheaper? Let’s cut through the noise and break down exactly what you’ll spend - and what you might be risking - when you do it yourself in the UK in 2026.
How much do brake pads cost to replace at a garage?
In the UK, having brake pads replaced at a garage typically costs between £120 and £250 per axle. That’s for both front or both rear pads. Labour alone makes up about £60 to £90 of that total. The rest covers parts. A standard set of brake pads from brands like ATE, Brembo, or Ferodo runs £30 to £70 per axle. If your car needs new discs too - which often happens if pads are worn too long - add another £100 to £200 per axle. Most garages won’t replace pads without checking the discs. And if they’re scored or thin, they’ll insist on replacement.
Why so expensive? Labour is the big hitter. Mechanics need to lift the car, remove wheels, compress calipers, disconnect sensors, and bleed brakes if needed. It’s not a 10-minute job. A skilled technician spends 1.5 to 2.5 hours on this task. In Manchester, where hourly rates average £65 to £85, that adds up fast.
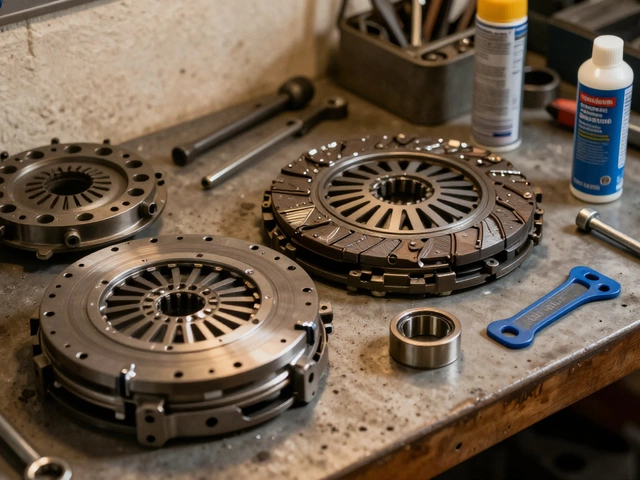
What does a DIY brake pad kit cost?
If you do it yourself, you’re mostly paying for parts. A decent set of brake pads for a common family car - think a Ford Focus, Volkswagen Golf, or Vauxhall Astra - costs between £25 and £60 for a full axle. You’ll also need a few extra bits:
- Brake grease: £5
- Pad wear sensors (if required): £10-£25
- New brake hardware clips or pins: £8-£15
- Brake cleaner spray: £4
That’s £50 to £110 total for parts. You might already have some of these lying around. If not, you can pick them up at Halfords, Euro Car Parts, or Amazon. No garage markup. No admin fee. Just the cost of the parts.
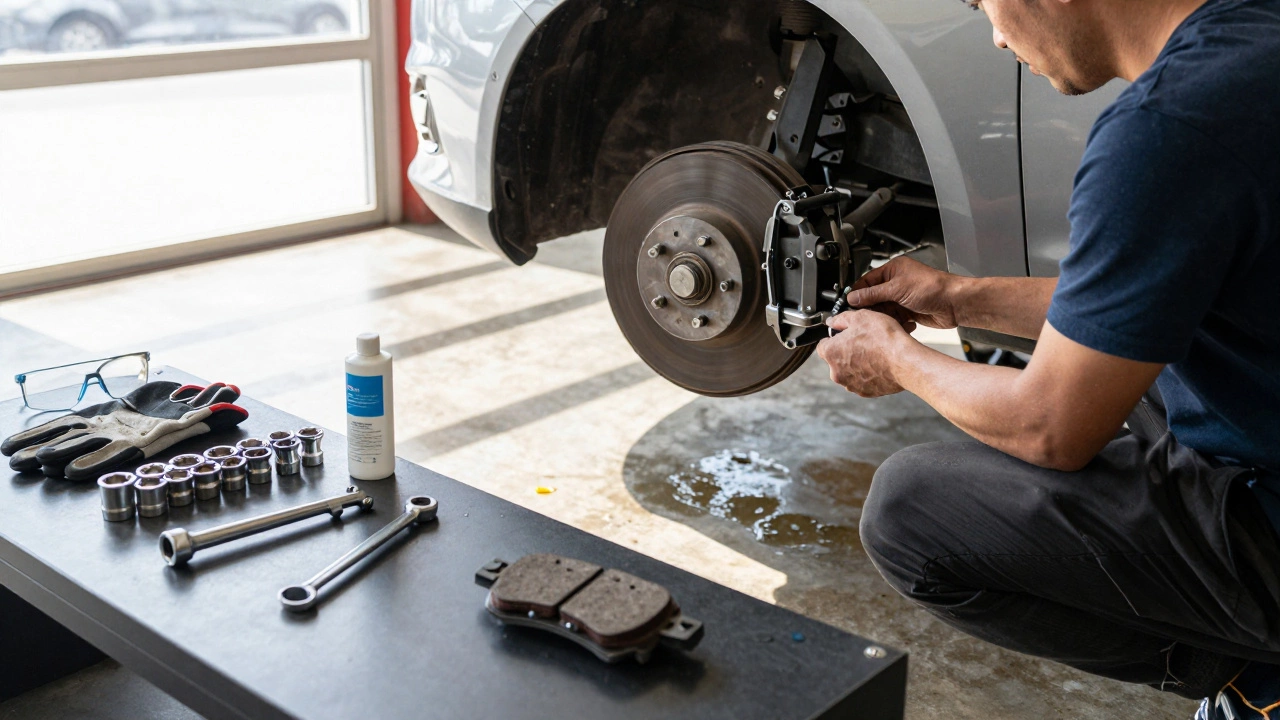
How much time and effort does it really take?
Replacing brake pads isn’t rocket science, but it’s not a Sunday afternoon hobby either. For a first-timer, expect 2 to 4 hours. You’ll need:
- A jack and jack stands (not just a jack from your boot)
- Socket set and torque wrench
- C-clamp or caliper piston tool
- Gloves and safety glasses
Here’s the real workflow: lift the car, remove the wheel, unbolt the caliper, slide out the old pads, push the piston back in, install new pads with grease on the contact points, reassemble, and bleed air if needed. You can skip bleeding if you’re careful and don’t disconnect brake lines - but most people do it anyway to be safe.
YouTube tutorials help, but they don’t show you what happens when the caliper bolt is seized, or when the wear sensor wire snaps. These things happen. And if you don’t torque the caliper bolts to spec, your brakes could rattle, wear unevenly, or worse - fail.
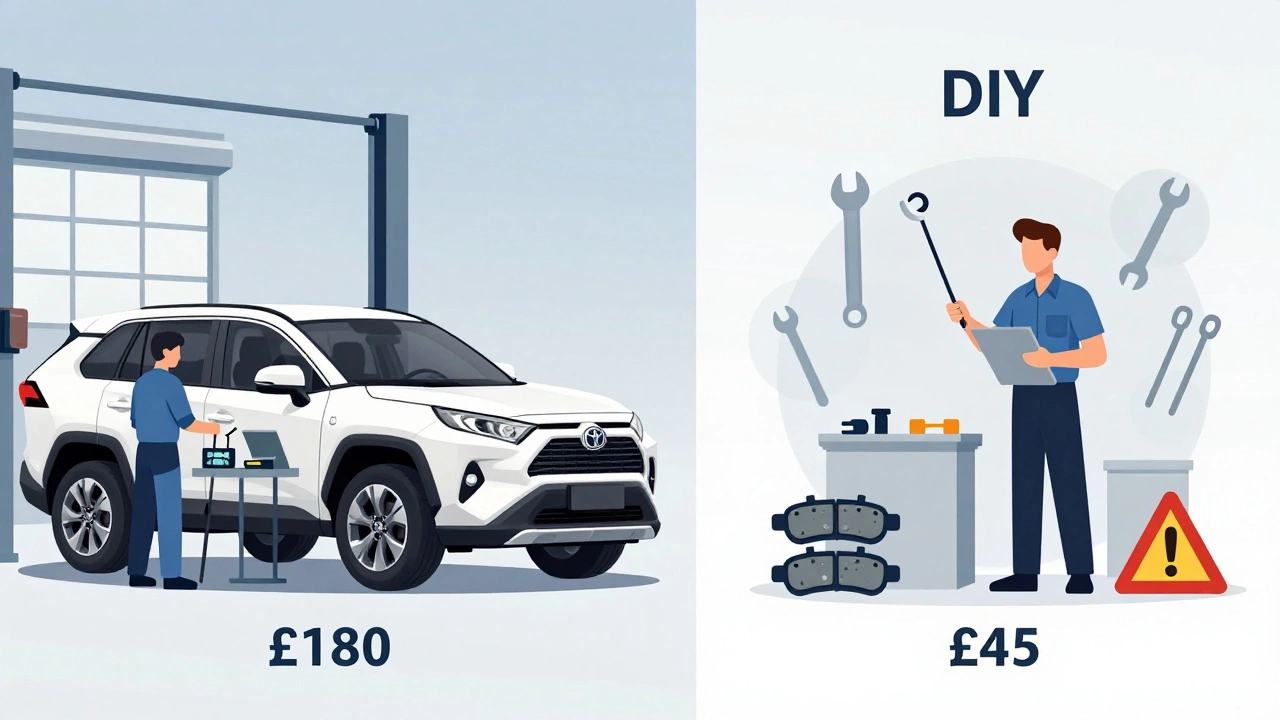
Where DIY saves money - and where it doesn’t
If you already own the tools and have some mechanical confidence, DIY saves you £80 to £150 per axle. That’s real cash. For example, if your car needs front pads and you’d pay £180 at a garage, doing it yourself costs £45 in parts. You save £135. That’s nearly £300 a year if you replace pads every 20,000 miles.
But here’s the catch: if you mess up, the cost skyrockets. Wrong installation can cause:
- Uneven braking - leading to warped discs
- Caliper sticking - overheating, reduced fuel economy
- Brake fluid leaks - dangerous, expensive to fix
- Warning lights staying on - requiring a diagnostic scan
Fixing a mistake can cost £300 to £600. That’s more than the original garage job. And if you cause an accident? Insurance won’t cover damage from poor maintenance.
What cars make DIY easier?
Not all cars are equal. Older models (pre-2010) are simpler. No electronic handbrakes. No sensor wires. No caliper alignment tricks. A 2005 Honda Civic? Easy. A 2023 Toyota RAV4 with an electric parking brake? Not so much. The latter requires special tools and sometimes a diagnostic tool to retract the caliper electronically.
Front-wheel-drive cars are generally easier than rear-wheel-drive. Rear pads often involve removing the handbrake cable or adjusting drum-in-hat systems. If your car has rear drum brakes, you probably shouldn’t attempt this yourself unless you’ve done it before.
Check your manual or search for your exact model + “brake pad replacement” on YouTube. If the video is under 10 minutes and doesn’t mention special tools, you’re probably safe.
When should you leave it to a pro?
You should skip DIY if:
- Your car has electronic parking brakes or brake-by-wire systems
- The pads are fused to the discs (severe wear)
- You don’t have a torque wrench
- You’ve never lifted a car before
- You’re on a tight deadline - brake jobs take time
Also, if your car is under warranty, some manufacturers void coverage if non-dealer parts are used. Always check your manual.
Pro tips for DIY brake pad replacement
- Buy pads and discs as a matched set - don’t mix brands
- Use brake grease only on the backing plates, never on the friction surface
- Replace both sides at once - never just one pad
- Test brakes gently at low speed before hitting the highway
- Check your brake fluid level - if it’s low, there might be a leak
And always, always bed in new pads. Drive slowly for 200 miles. Avoid hard stops. Let the pads and discs wear in together. Skipping this can lead to noise, vibration, or reduced stopping power.
Final verdict: Is it cheaper?
Yes - if you have the tools, time, and confidence. For most UK drivers, DIY saves £80-£150 per axle. That’s hundreds over time.
But it’s only cheaper if you get it right. If you’re unsure, spend the extra £100 and sleep soundly. Brakes aren’t where you cut corners. A £150 saving isn’t worth risking your life or your car’s safety.
Bottom line: DIY brake pad replacement is one of the few automotive jobs where you can genuinely save money - but only if you’re prepared. Know your limits. Respect the brakes. And never rush.
Can I replace brake pads without replacing the discs?
Yes, if the discs are still above the minimum thickness and show no deep grooves, scoring, or warping. Most mechanics check this with a micrometer. If the discs are within spec and smooth, you can reuse them. But if you’re unsure, it’s safer to replace them together. Worn pads can damage discs quickly, and replacing discs later means paying labour twice.
Do I need to bleed the brakes after replacing pads?
Not always, but it’s recommended. If you didn’t disconnect any brake lines or let air into the system, bleeding isn’t required. However, compressing the caliper piston can push air into the lines. Bleeding removes this air and ensures firm pedal feel. Many DIYers skip it, but if your brake pedal feels spongy afterward, bleeding is the fix.
How often should brake pads be replaced?
Typically every 30,000 to 60,000 miles, but it varies. Aggressive driving, frequent city stops, and heavy loads wear pads faster. Some cars have wear sensors that trigger a dashboard warning. If you hear squealing or feel vibration when braking, don’t wait - get them checked. Driving on worn pads damages discs and reduces stopping power dangerously.
Are cheaper brake pads worth it?
Not usually. Budget pads from unknown brands can be noisy, fade under heat, and wear unevenly. Stick to reputable brands like Ferodo, ATE, Brembo, or Mintex. They’re engineered to match OEM specs. A £15 saving on pads isn’t worth a £300 repair from warped discs or reduced braking. You get what you pay for - especially with brakes.
Can I replace brake pads on just one axle?
Never. Brakes work as a system. Replacing pads on only the front or only the rear creates uneven braking force. This can cause the car to pull to one side, increase stopping distance, and wear out tyres faster. Always replace pads in pairs - both front or both rear - at the same time.